Wi-Fi Hotspot
Some Raven field computers are capable of broadcasting a Wi-Fi hotspot to allow other devices to connect to and use the internet source of the field computer.
Create a CRX Wi-Fi Hotspot
To create a Wi-Fi hotspot:
- Select Settings on the bottom left of the Home screen. The Settings Menu will open.
- Select Networking on the Settings menu. The Network Settings window will open.
- Select the Hotspot tab.
- Select the Enable Wi-Fi Hotspot checkbox. The number displayed will the be network name. The Password is the password to connect to the network.
- Select Accept to save the displayed settings and return to the Settings menu.
Create a ROS Wi-Fi Hotspot
To use the ROS device as a Wi-Fi hotspot:
-
Select the Settings icon on the bottom right of the screen. The Settings Menu will open.
-
Locate and select the Networking module. The Wireless Connectivity tab will be displayed.
- Select the Settings button to navigate to the Network Settings tab.
-
Select the Hotspot Settings option.
Note: Enabling this option will disable Wi-Fi connections received by the ROS device. The ROS device cannot broadcast a hotspot while using a wireless connection to send and receive wireless data.
-
If the ROS device is connected to a Wi-Fi network or hotspot, select the Yes button to disable Wi-Fi connectivity on the device.
-
Enter an name for the hotspot.
-
Enter the password that must be entered on devices connecting to the hotspot.
-
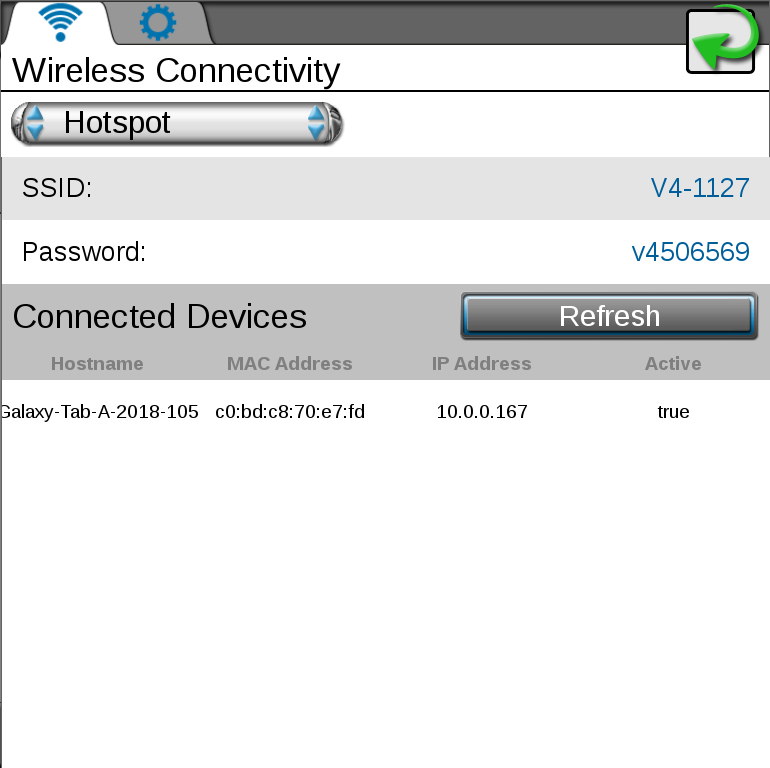
To view devices connected to the hotspot broadcasted by the ROS device, navigate back to the Wireless Connectivity tab and select Hotspot in the drop-down menu.
Note: If Auto is selected, the field computer will negotiate with other nodes on the bus to determine who is hot-spot and who is client and connect appropriately.
Auto is typically recommended for pairing with an RS1™ device.
Last Revised: Jul 2024