Assemble and Mount the Combine Roof Bracket
-
Metric size 10 wrench and socket
|
|
|
|---|---|
|
|
Use caution while working on the cab roof or standing on exterior surfaces. Surfaces may be uneven or slippery and hardware or harnesses may present tripping hazards. Contact a local equipment dealer for additional information or assistance with working on the roof or from an elevated position on a specific make and model machine. |
 warning
-
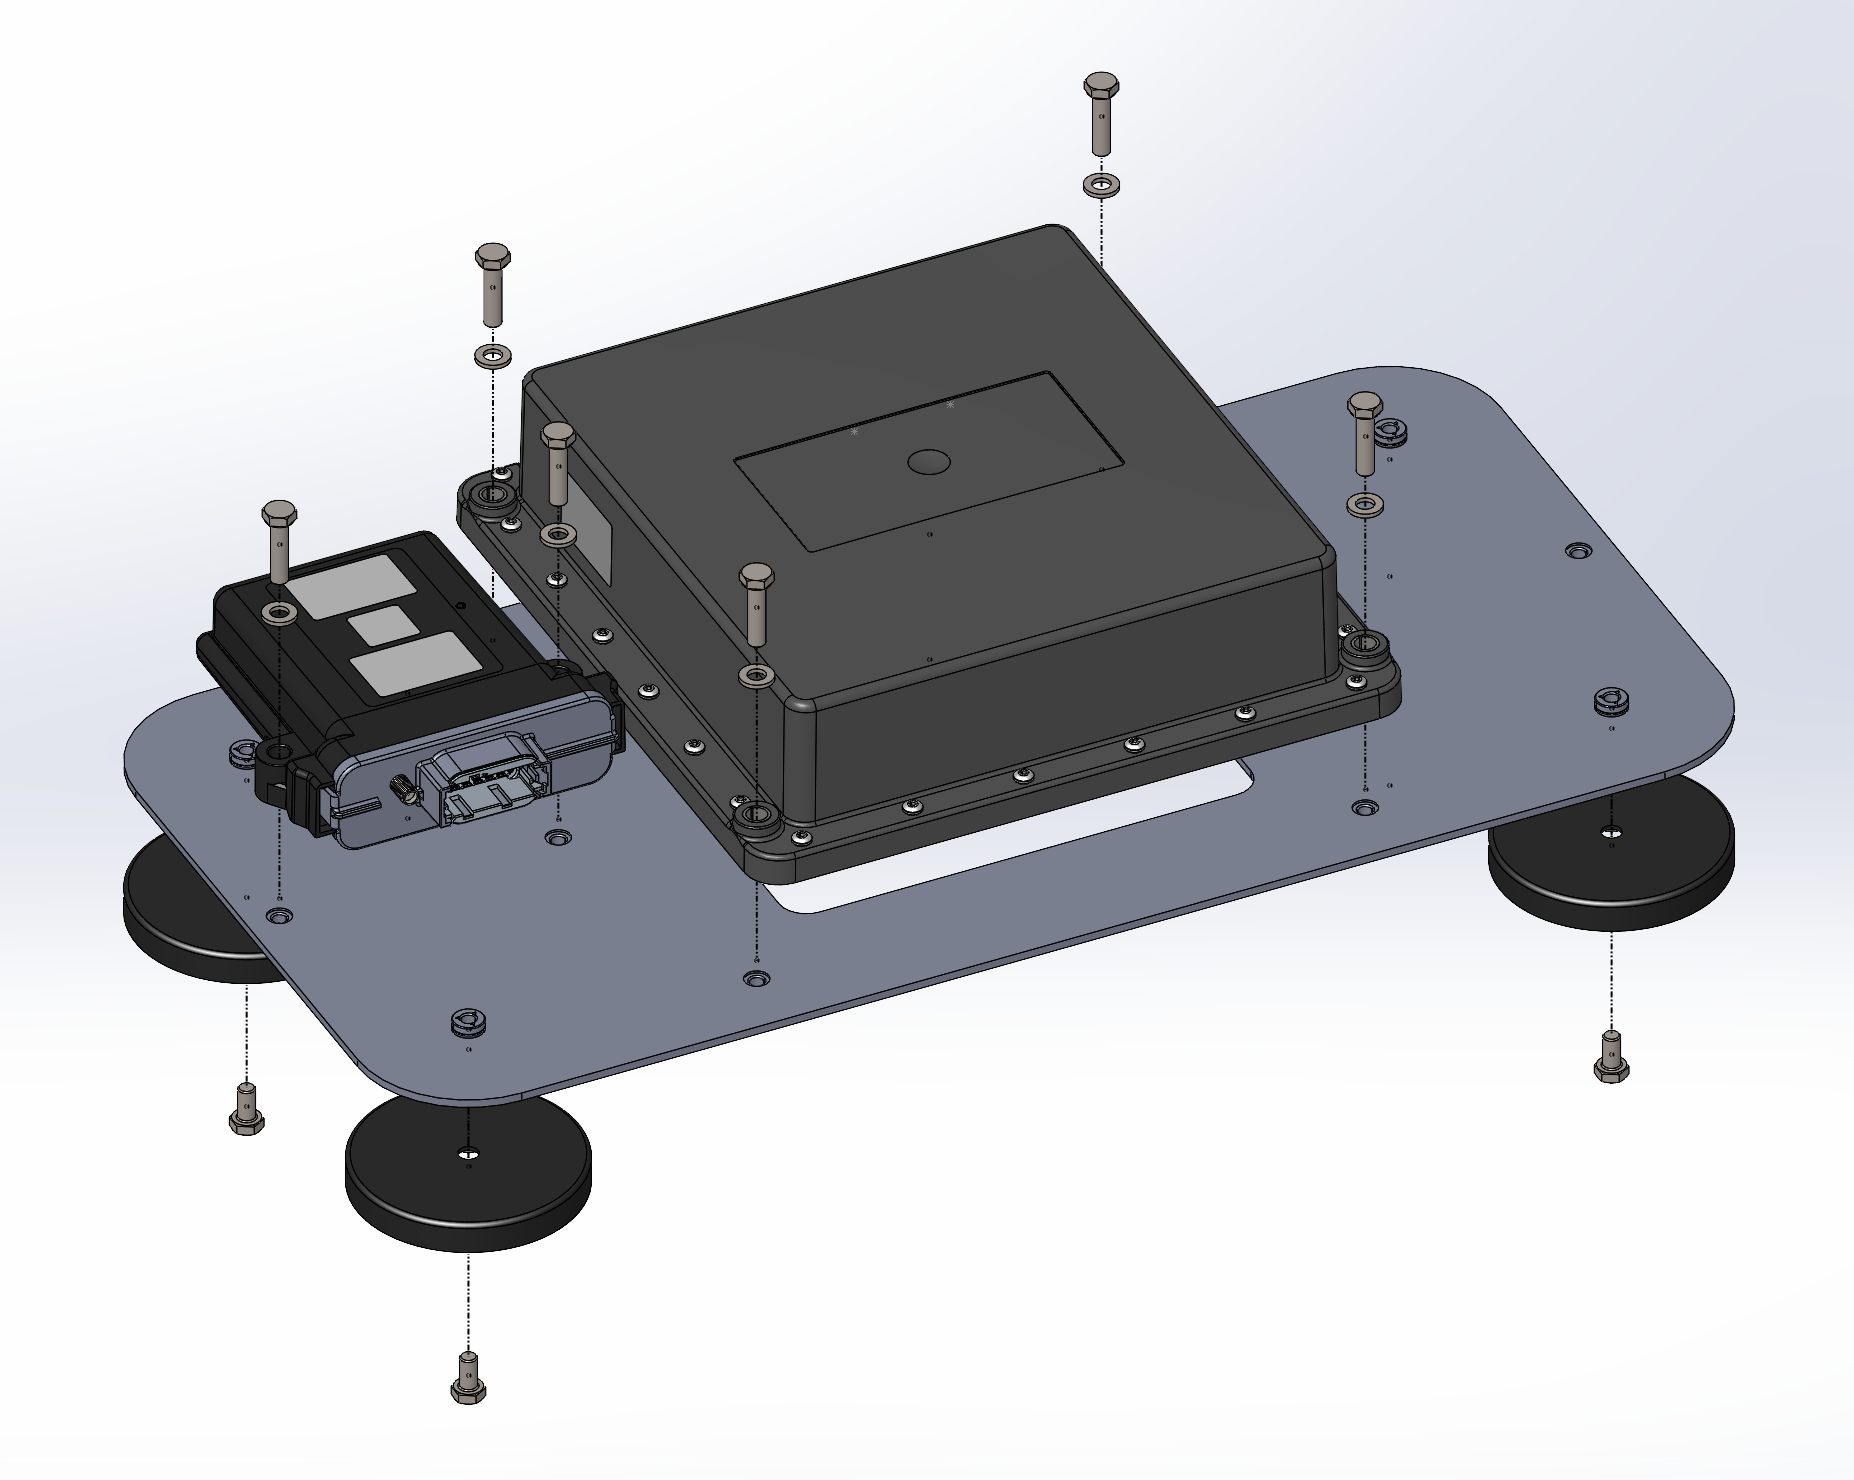
Install the circular magnets (P/N 418-0000-013) to the roof bracket (P/N 107-2612-005) with the M6x12 mm bolts.
-
Install the RS Lite (P/N 063-0174-121) to the roof bracket using the M6x25 mm bolts. The connectors on the RS Lite will face forward.
-
Install the RCU (P/N 063-2610-035) to the roof bracket to the left side of the RS Lite using the M6x25 mm bolts. The RCU connector direction does not matter.
-
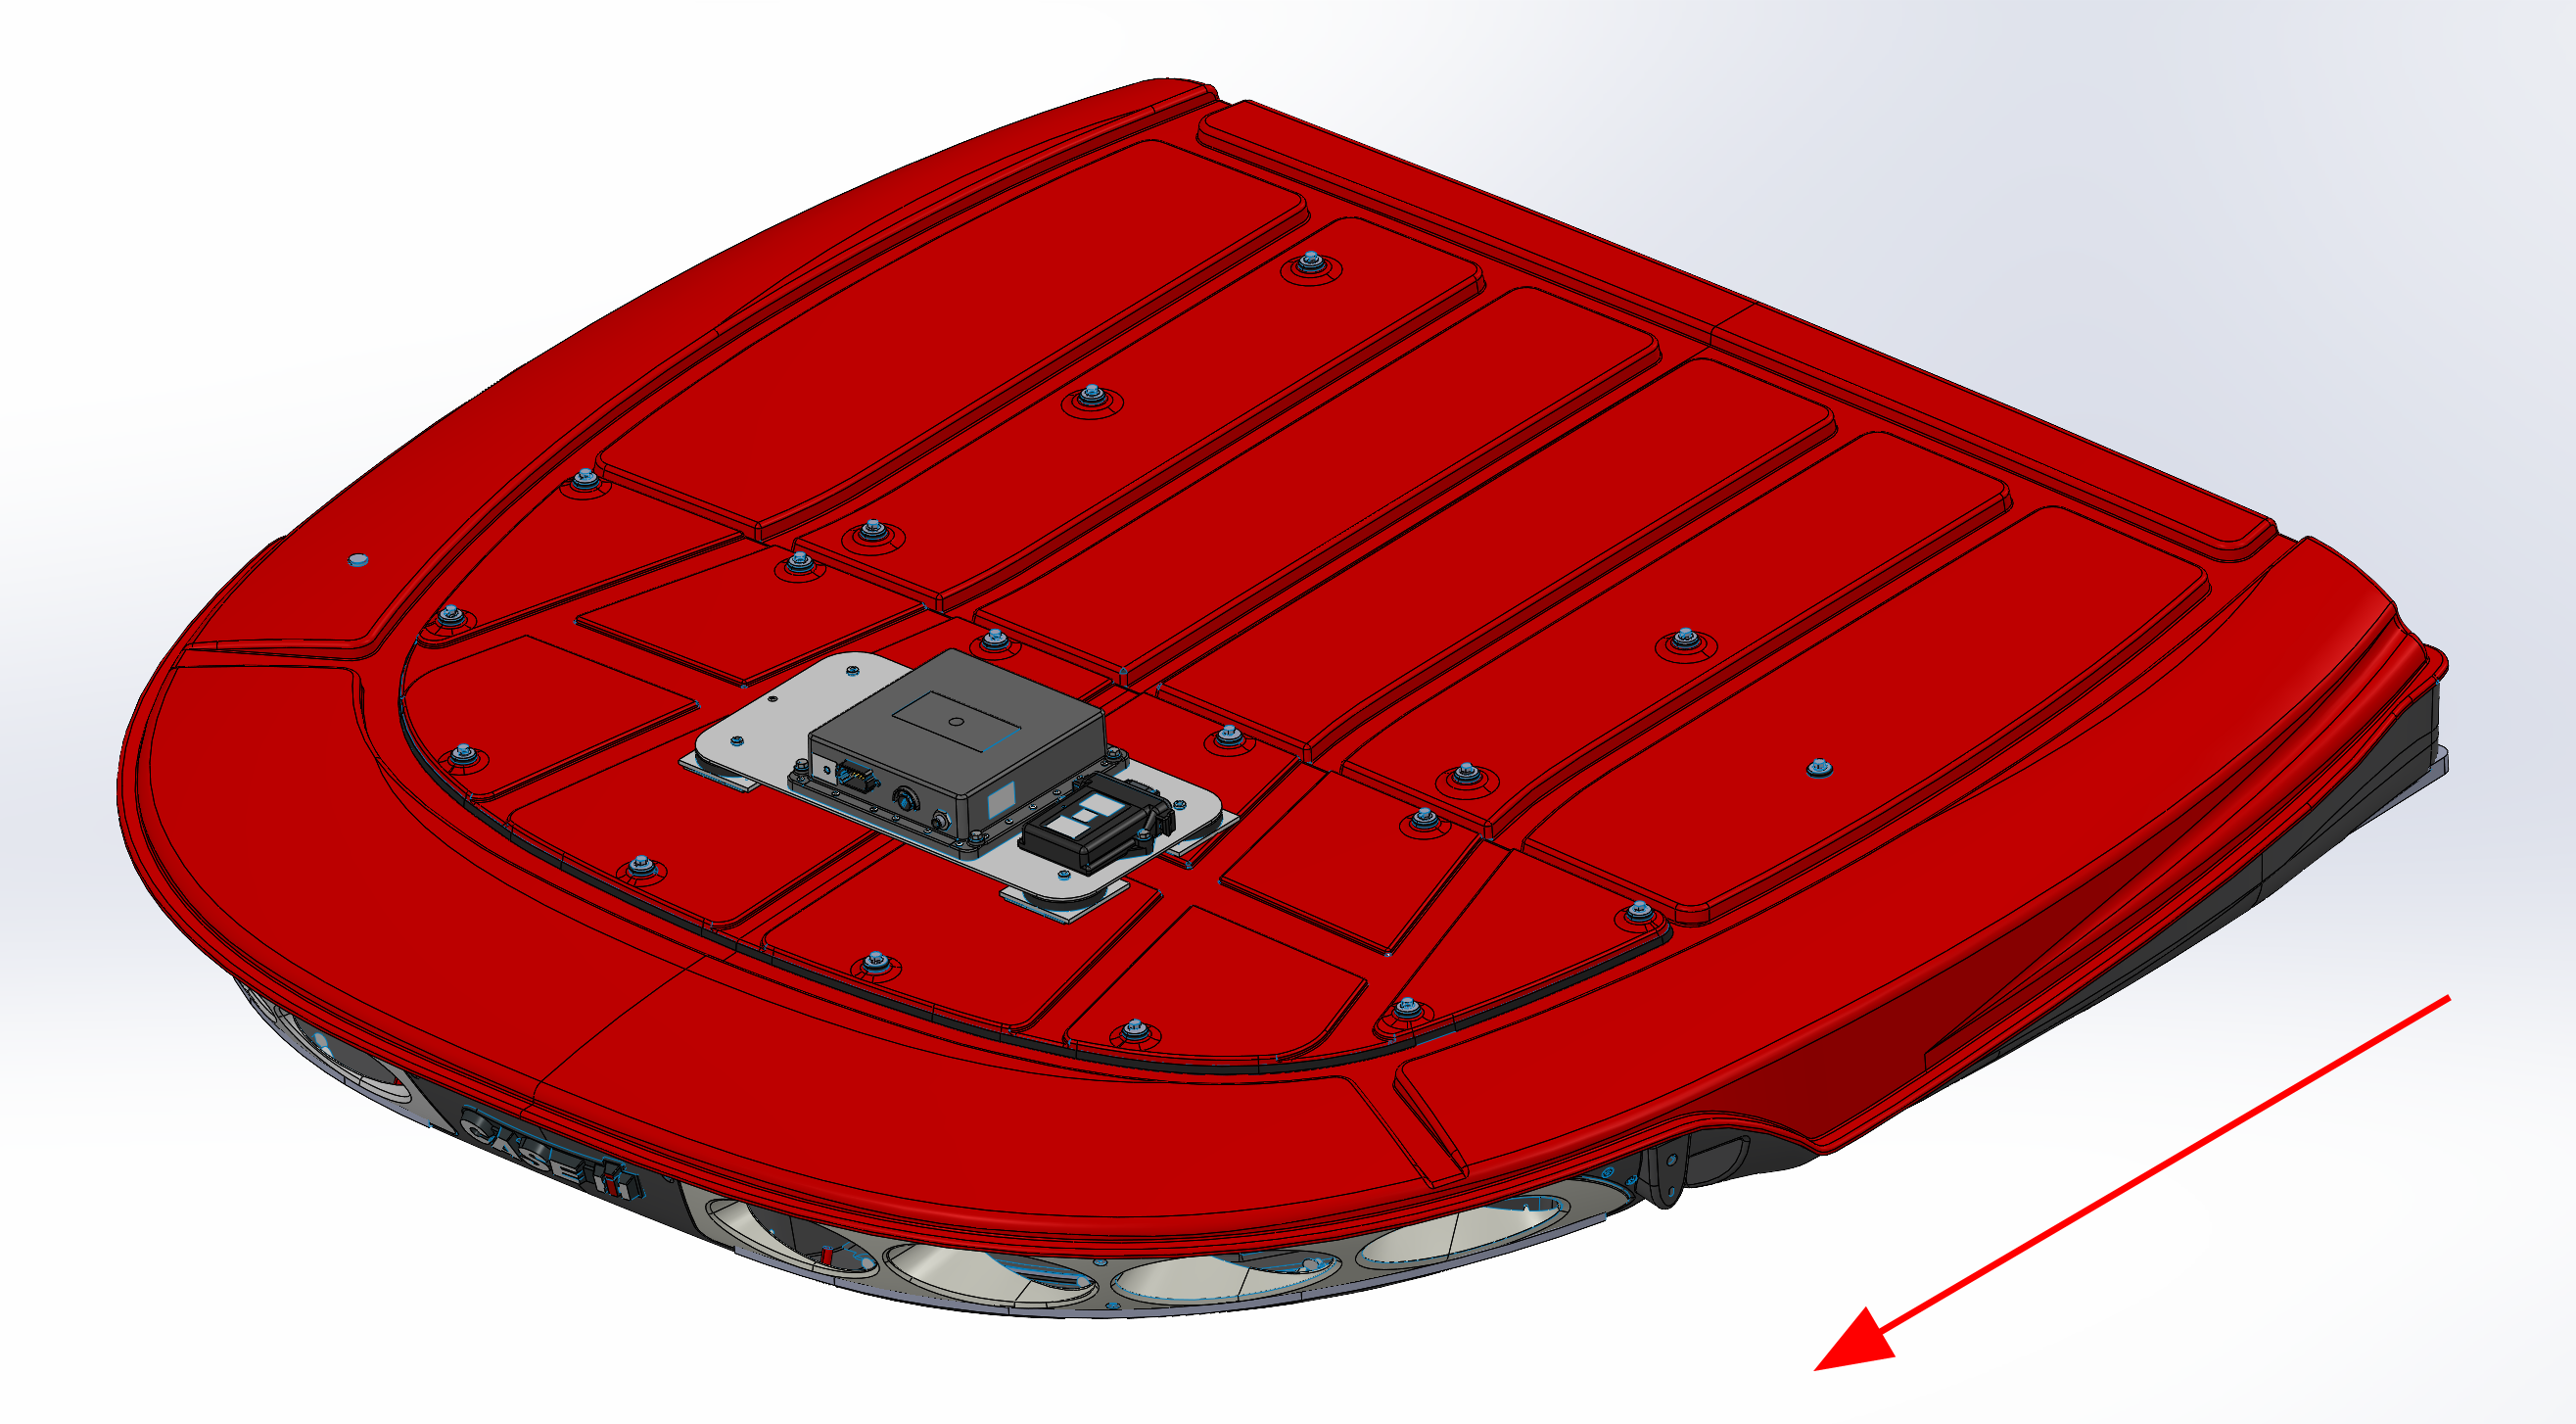
Install the square magnetic plates (P/N 063-0172-971) on the roof using VHB double sided tape. Use a damp cloth to wipe down the area where the magnetic plates will be installed. Make sure no debris is present on the surface and that and that it is completely dry before installing the magnetic plates. Use the roof bracket as a reference for where to install the plates. The bracket should be centered left to right on the cab roof. See the image for the approximate fore / aft placement.
-
Mount the combine bracket on the magnetic plates.
Note: Remove the roof bracket assembly before trucking or transporting the machine in any capacity where it will be subjected to highway speeds.

-
Install the radio antenna (P/N 121-0000-052) to the radio antenna bracket (P/N 107-2610-063).
Note: A 20 mm or adjustable wrench can be used to aid in the installation of the radio antenna.

-
Mount the radio antenna bracket to two circle magnetic plates (P/N 418-0000-013) using provided M6x20 mm bolts, M6 washers, and M6 lock nuts.
-
Connect the antenna cable (P/N 420-2002-129) to the radio antenna.
Note: If a stronger mounting setup is desired, the bracket can be directly mounted to a surface without using the magnet plates by drilling mounting holes and bolting the bracket to the machine.
Note: If a suitable magnetic location is not available, the bracket can be attached to the two plate assemblies (P/N 063-0172-971). The plate assemblies can be attached to the machine with the pre-installed double-sided adhesive on the plates.
-
Install the RCU antenna to the side of the combine. Use a damp cloth to wipe down the area where the magnetic plates will be installed. Make sure no debris is present on the surface and that and that it is completely dry before installing the magnetic plates. The location of the RCU antenna may vary depending on the best reception.
Note: Make sure that the RCU antenna is pointed skyward and is firmly attached.
Preferred Mounting Locations
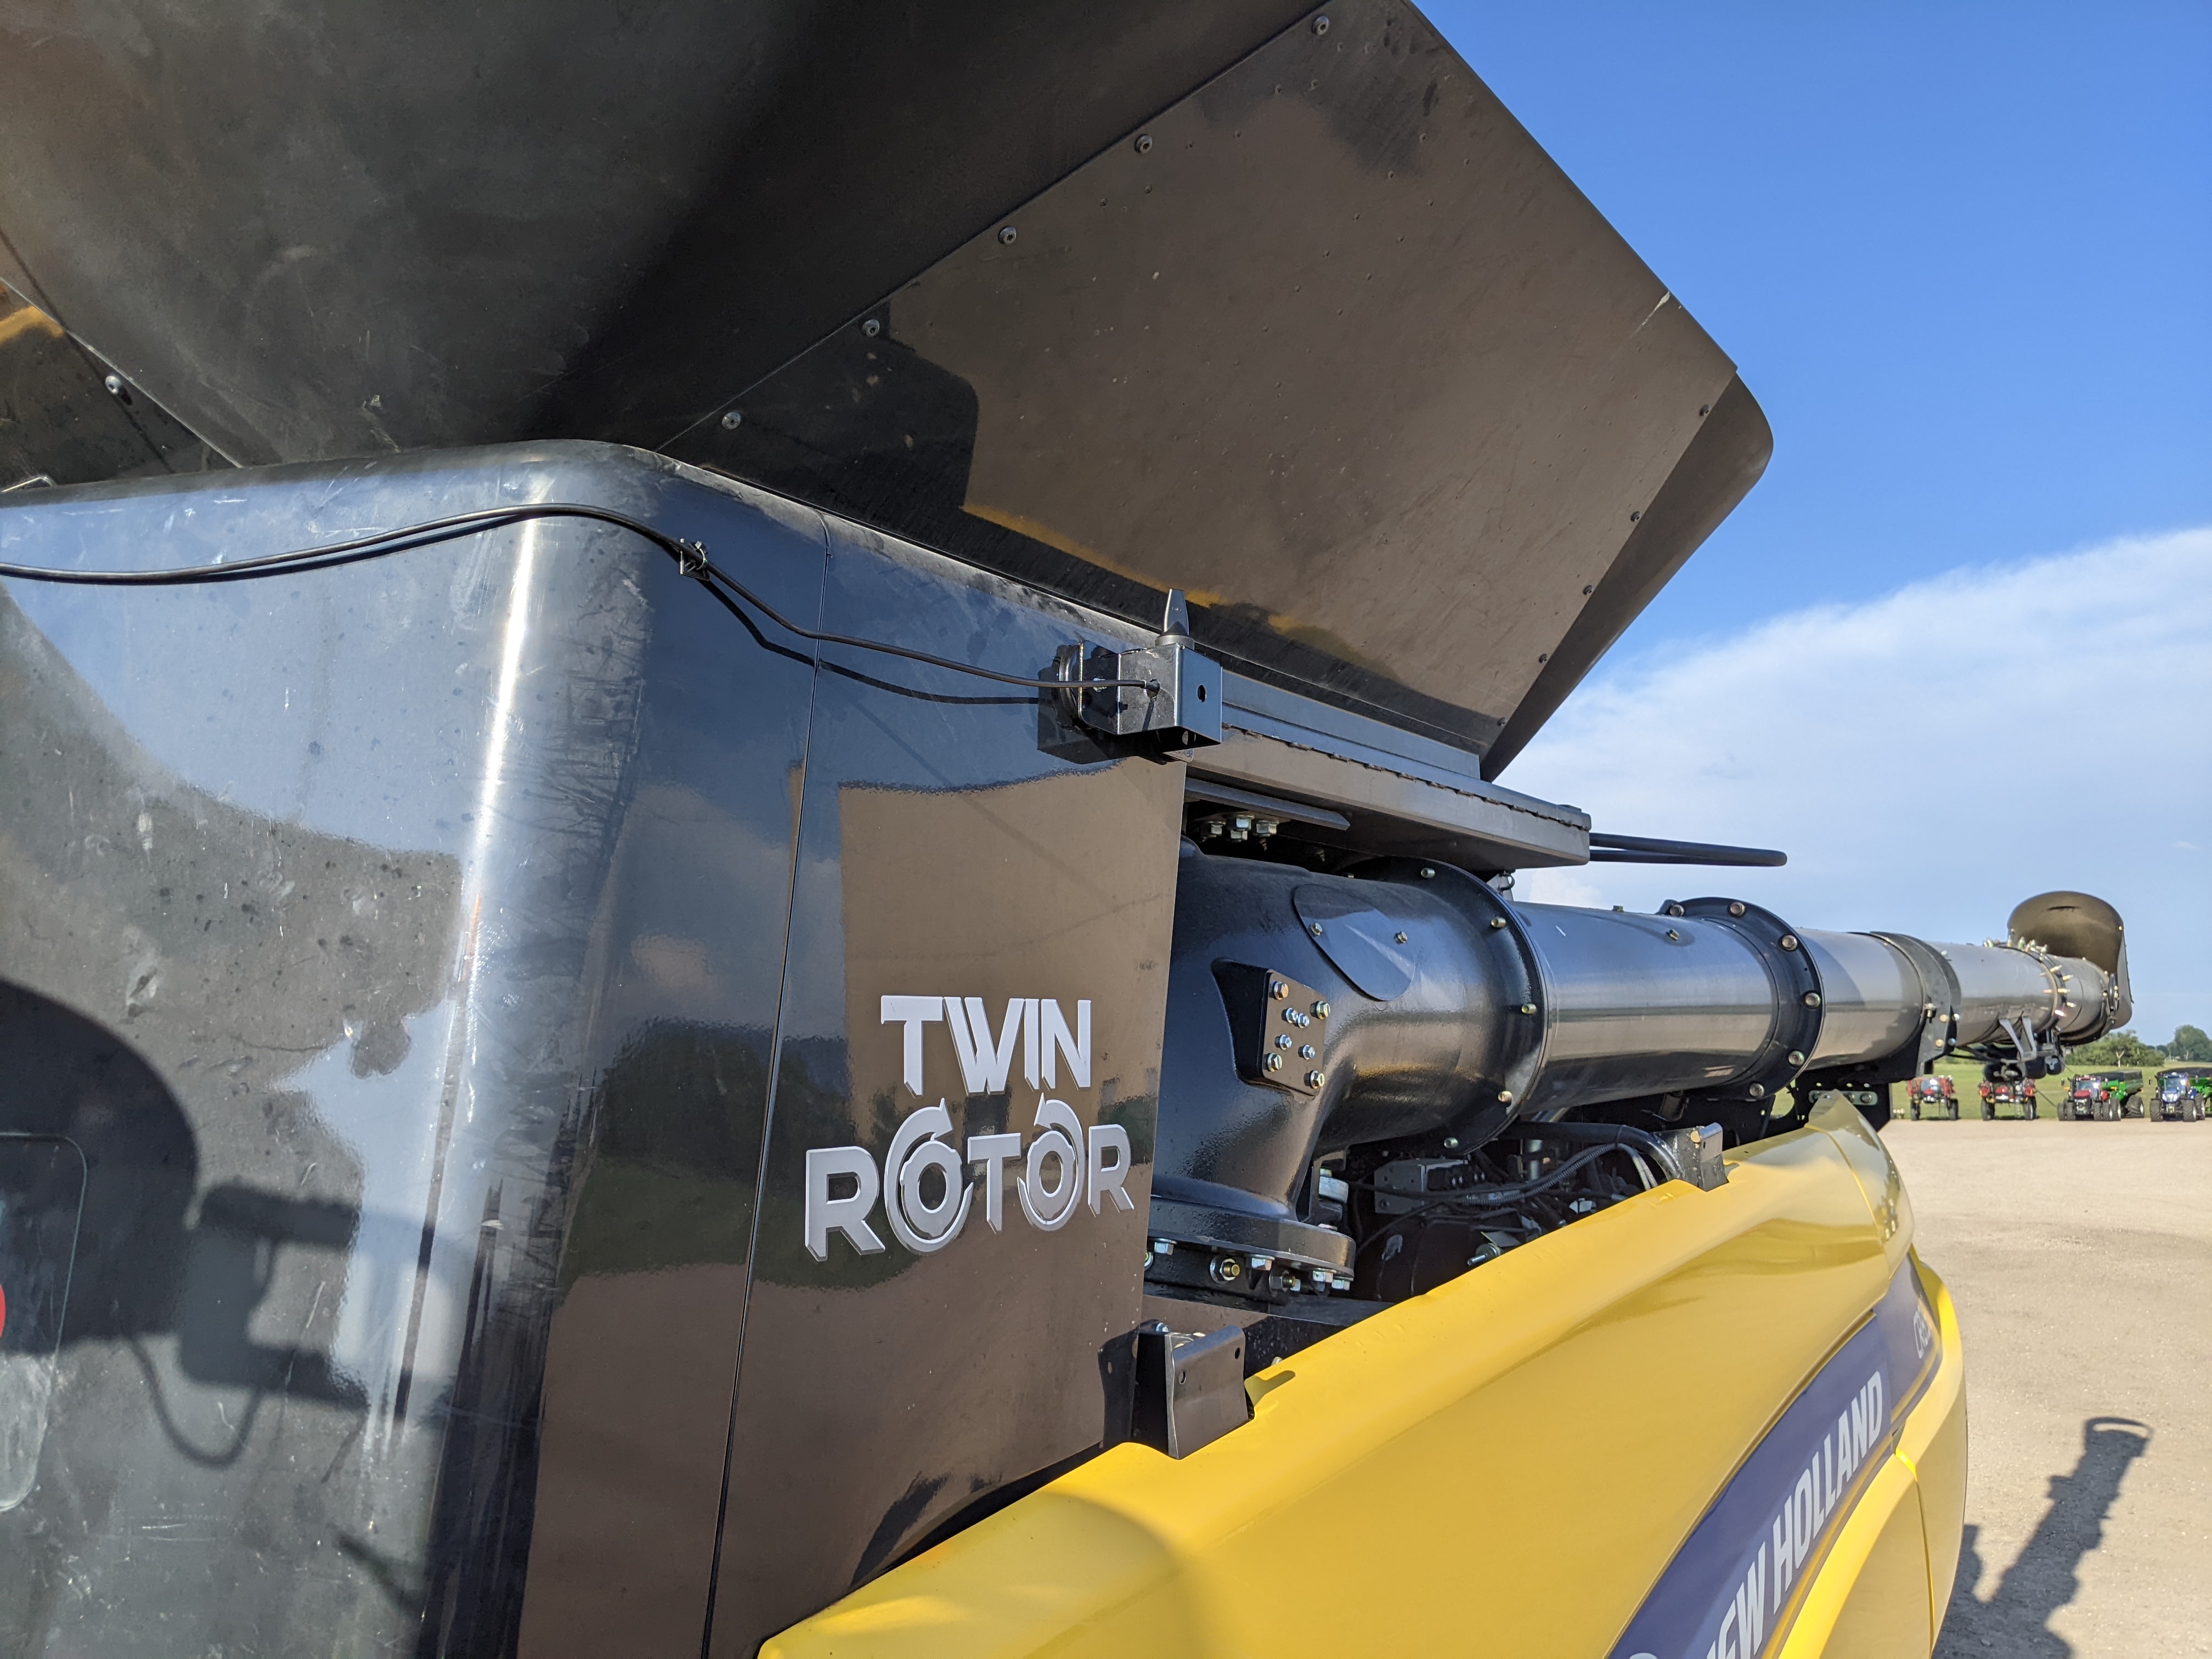
Note: Use the mag mounts to avoid scratches on the side of the machine.
-
Route the antenna cable towards the RCU.
Alternate Location
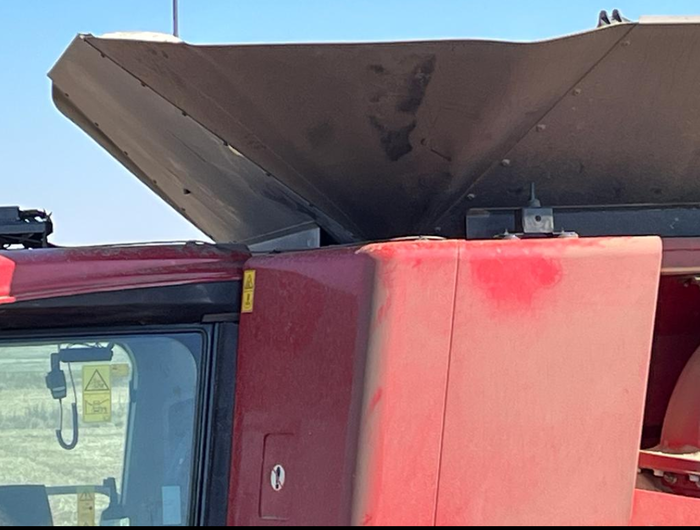
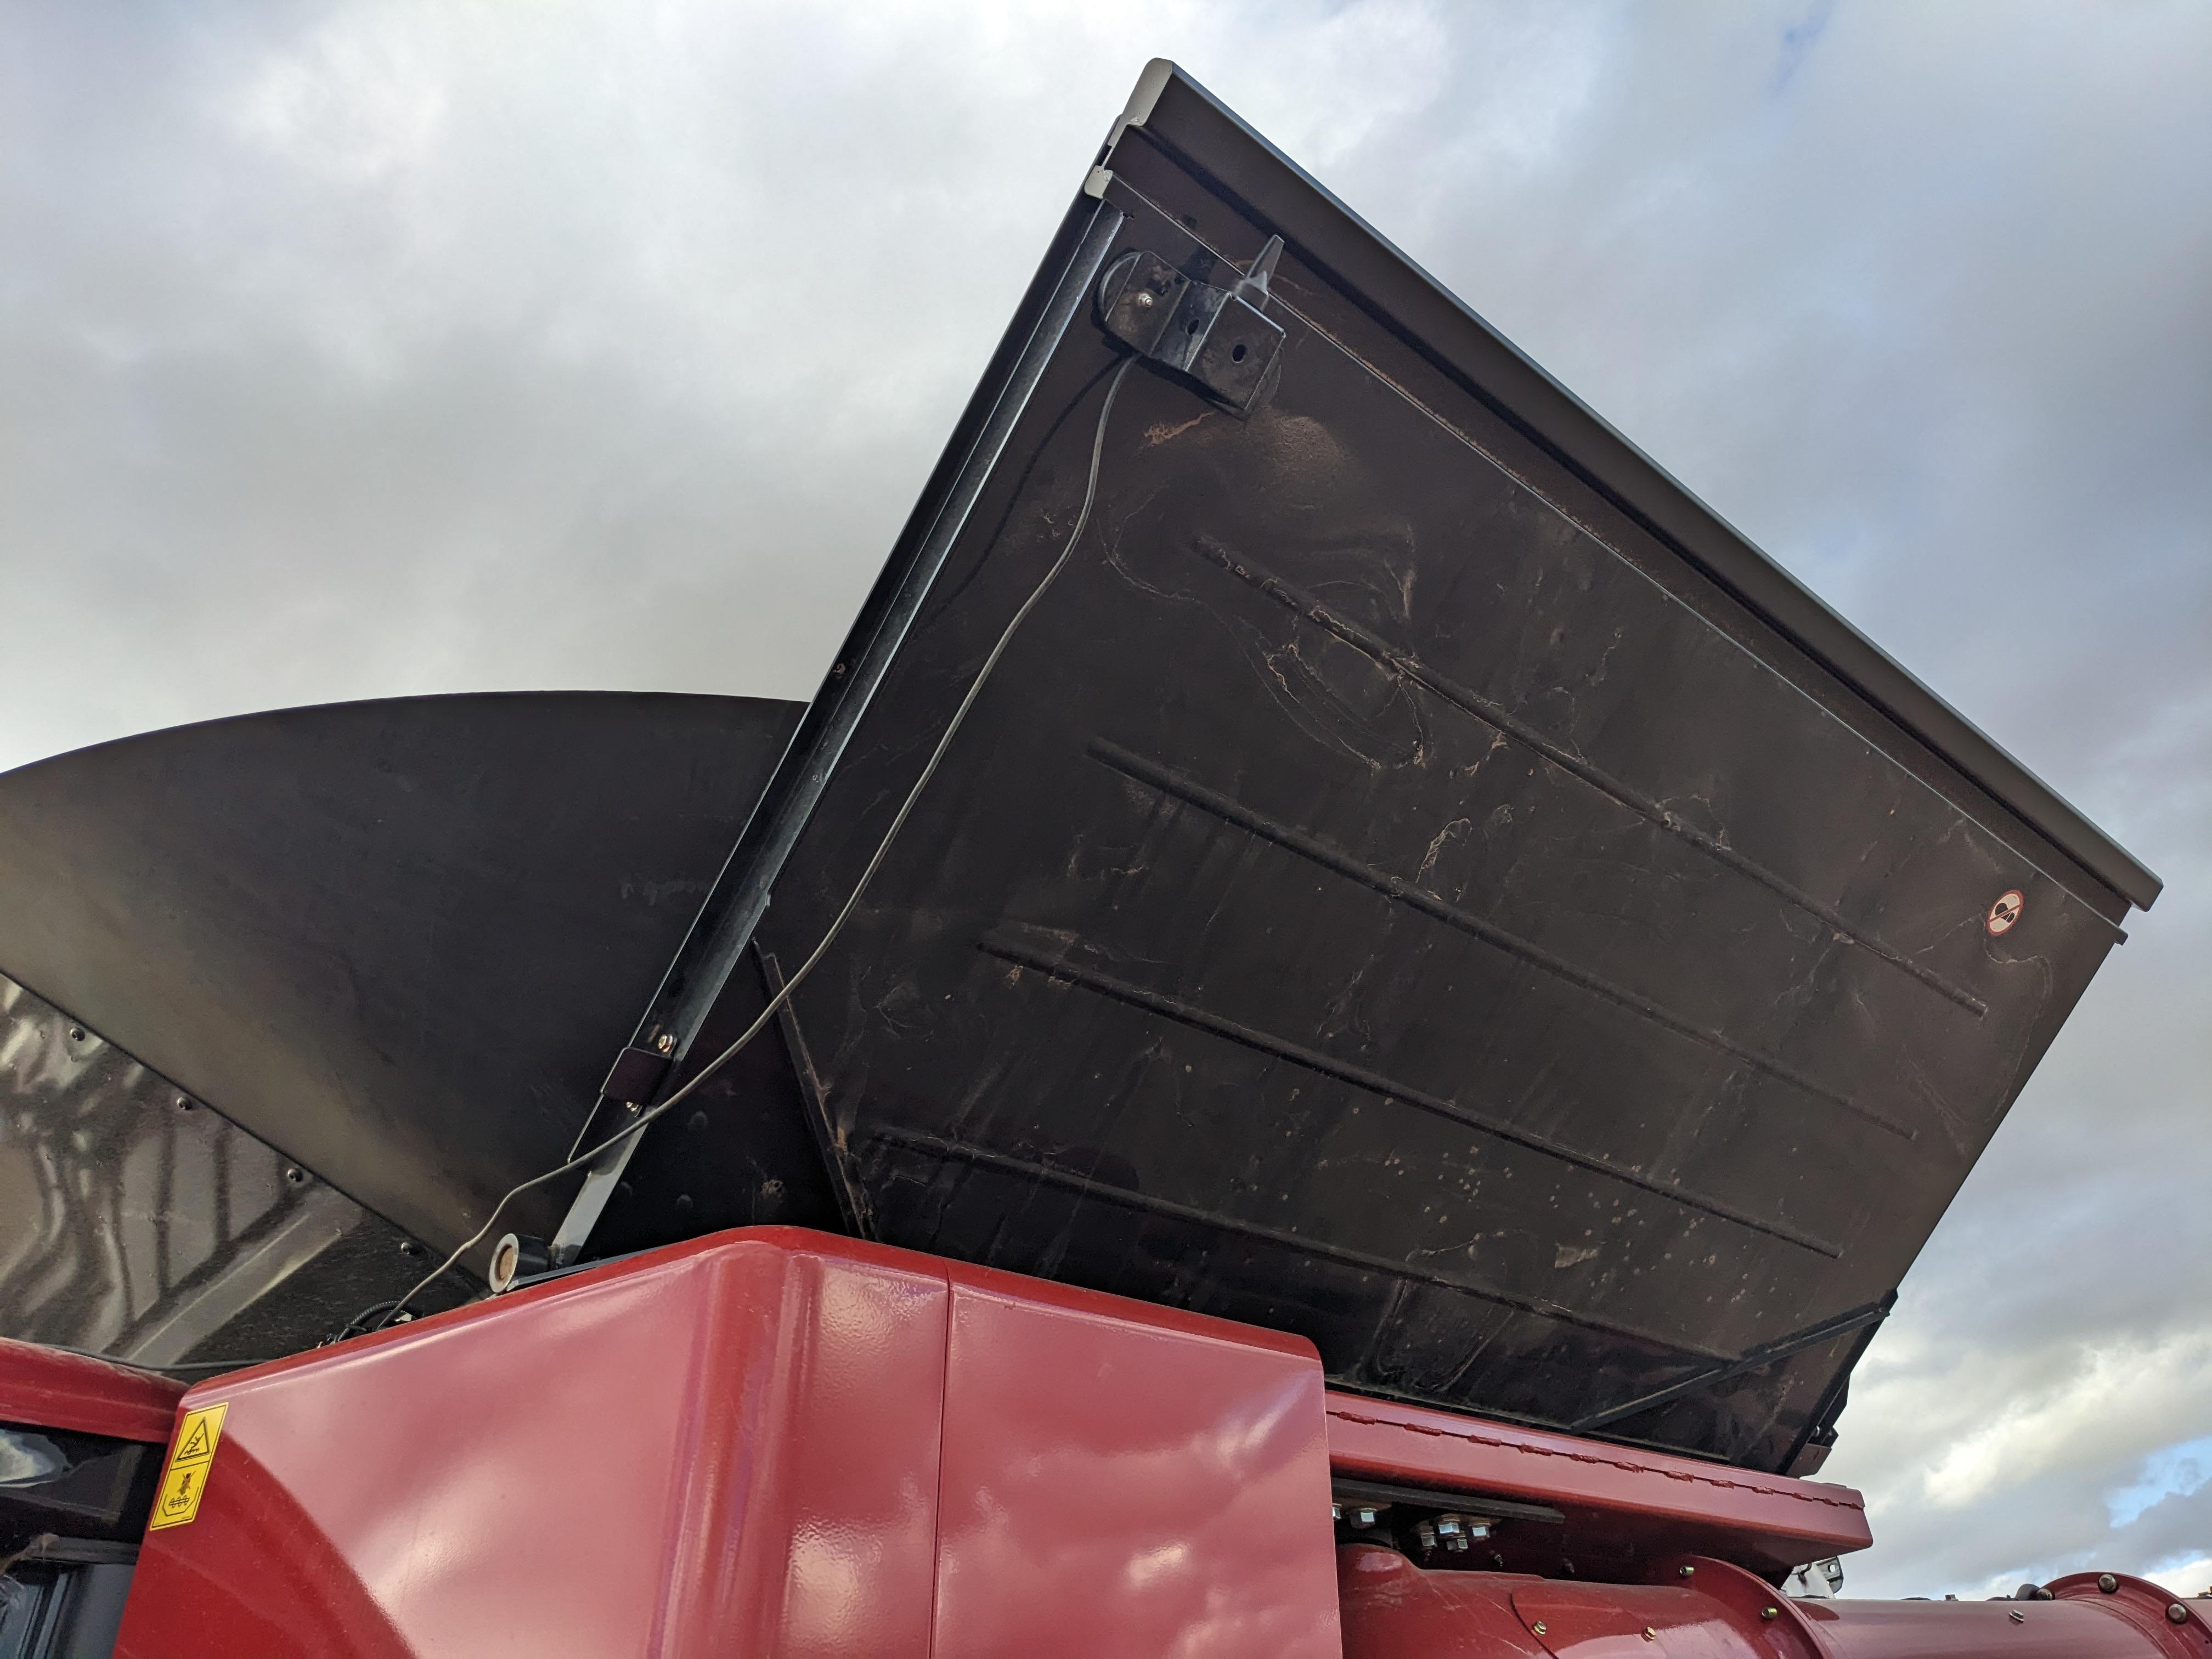
Note: Make sure that the RCU antenna does not come in contact with the grain tank extension when it is folded in and out.
-
Route the antenna cable towards the RCU.
2nd Alternate Location
Note: At this location there is a chance of the antenna coming loose when the grain tank is open or closed and performance could be degraded.
-
Route the antenna cable along the edge of the grain tank extension, around the pivot and towards the RCU.
Note: If the bracket is only held on with magnets, remove it before trucking or transporting the machine in any capacity where it will be subjected to highway speeds.
-
-
Connect the radio antenna cable to the RCU. Secure the cable with cable tie mounts and cable ties.
Last Revised: Mar 2025