Assemble the Bracket and Install the Cart Remote
-
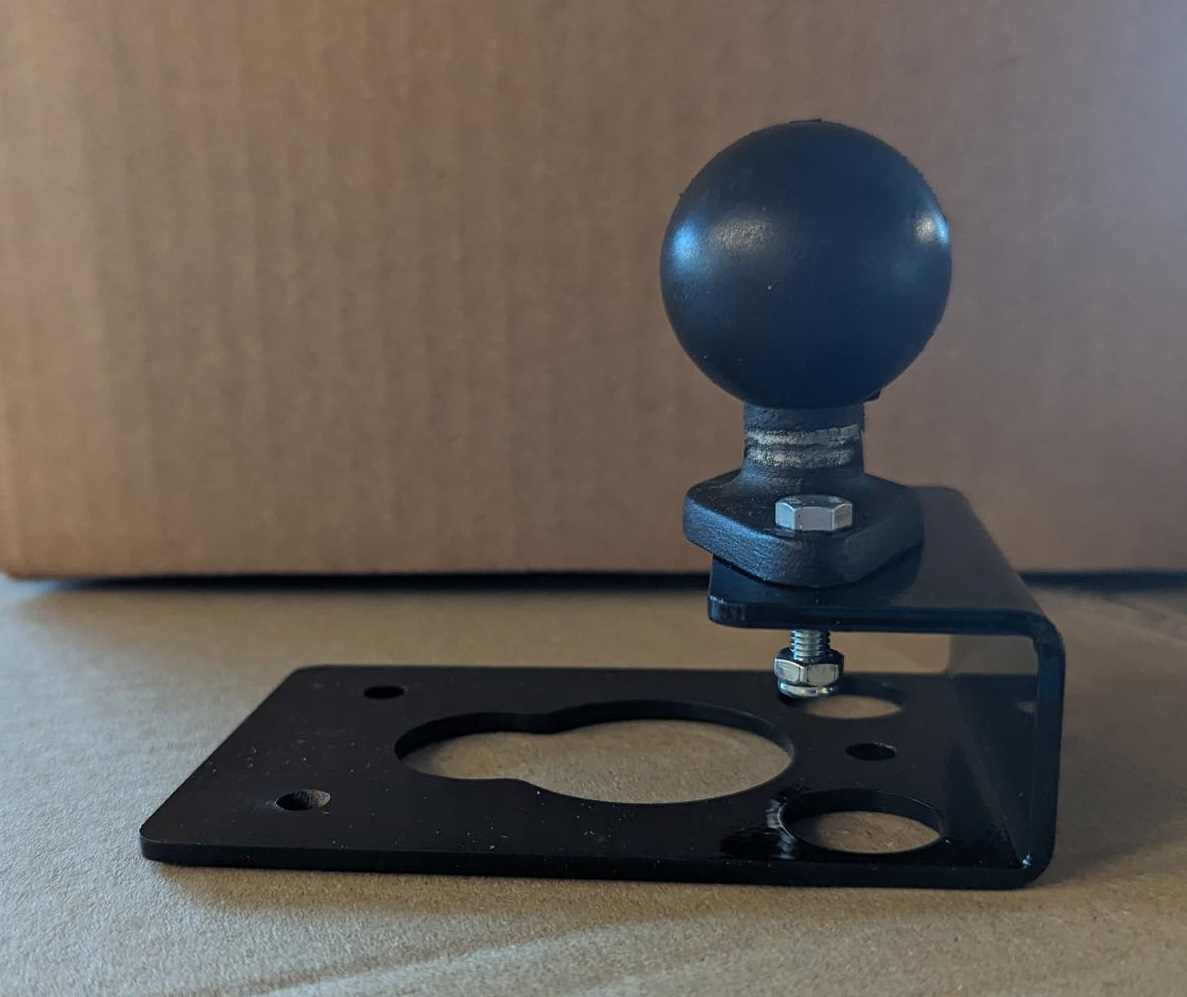
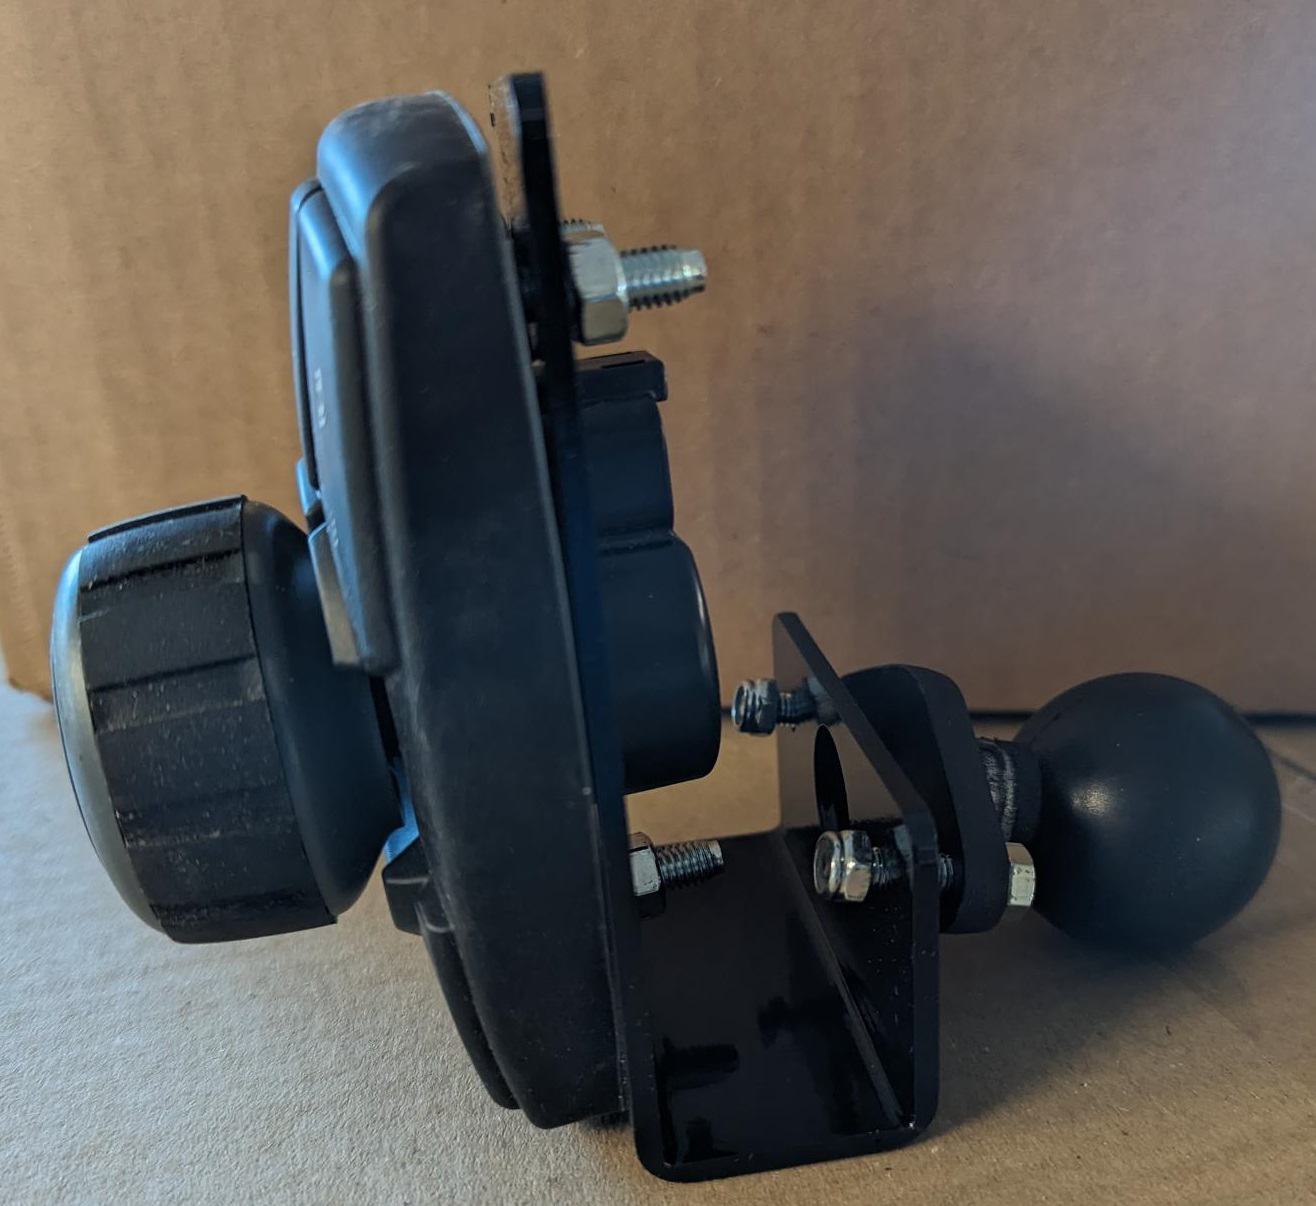
Attach the RAM Diamond 1.5 Inch Ball Mount (P/N 103-0001-034) to the Mounting Bracket with two M5x20 bolts (P/N 311-4050-093K) and two M5 Lock Nuts (P/N 312-6001-012K).
-
Attach the Cart Remote (P/N 321-8000-033) to the Mounting Bracket with three M6 Nuts (P/N 312-6000-017N) to a max torque of 2.82 Nm [25 in-lbs].
-
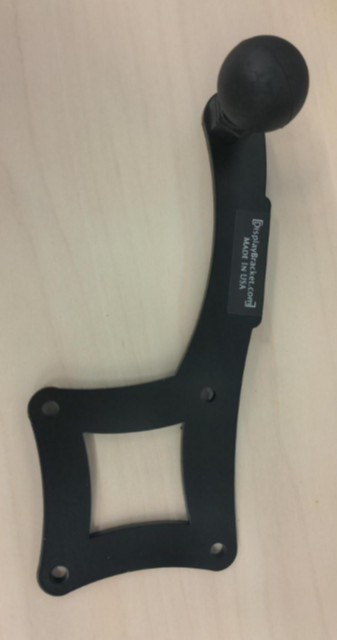
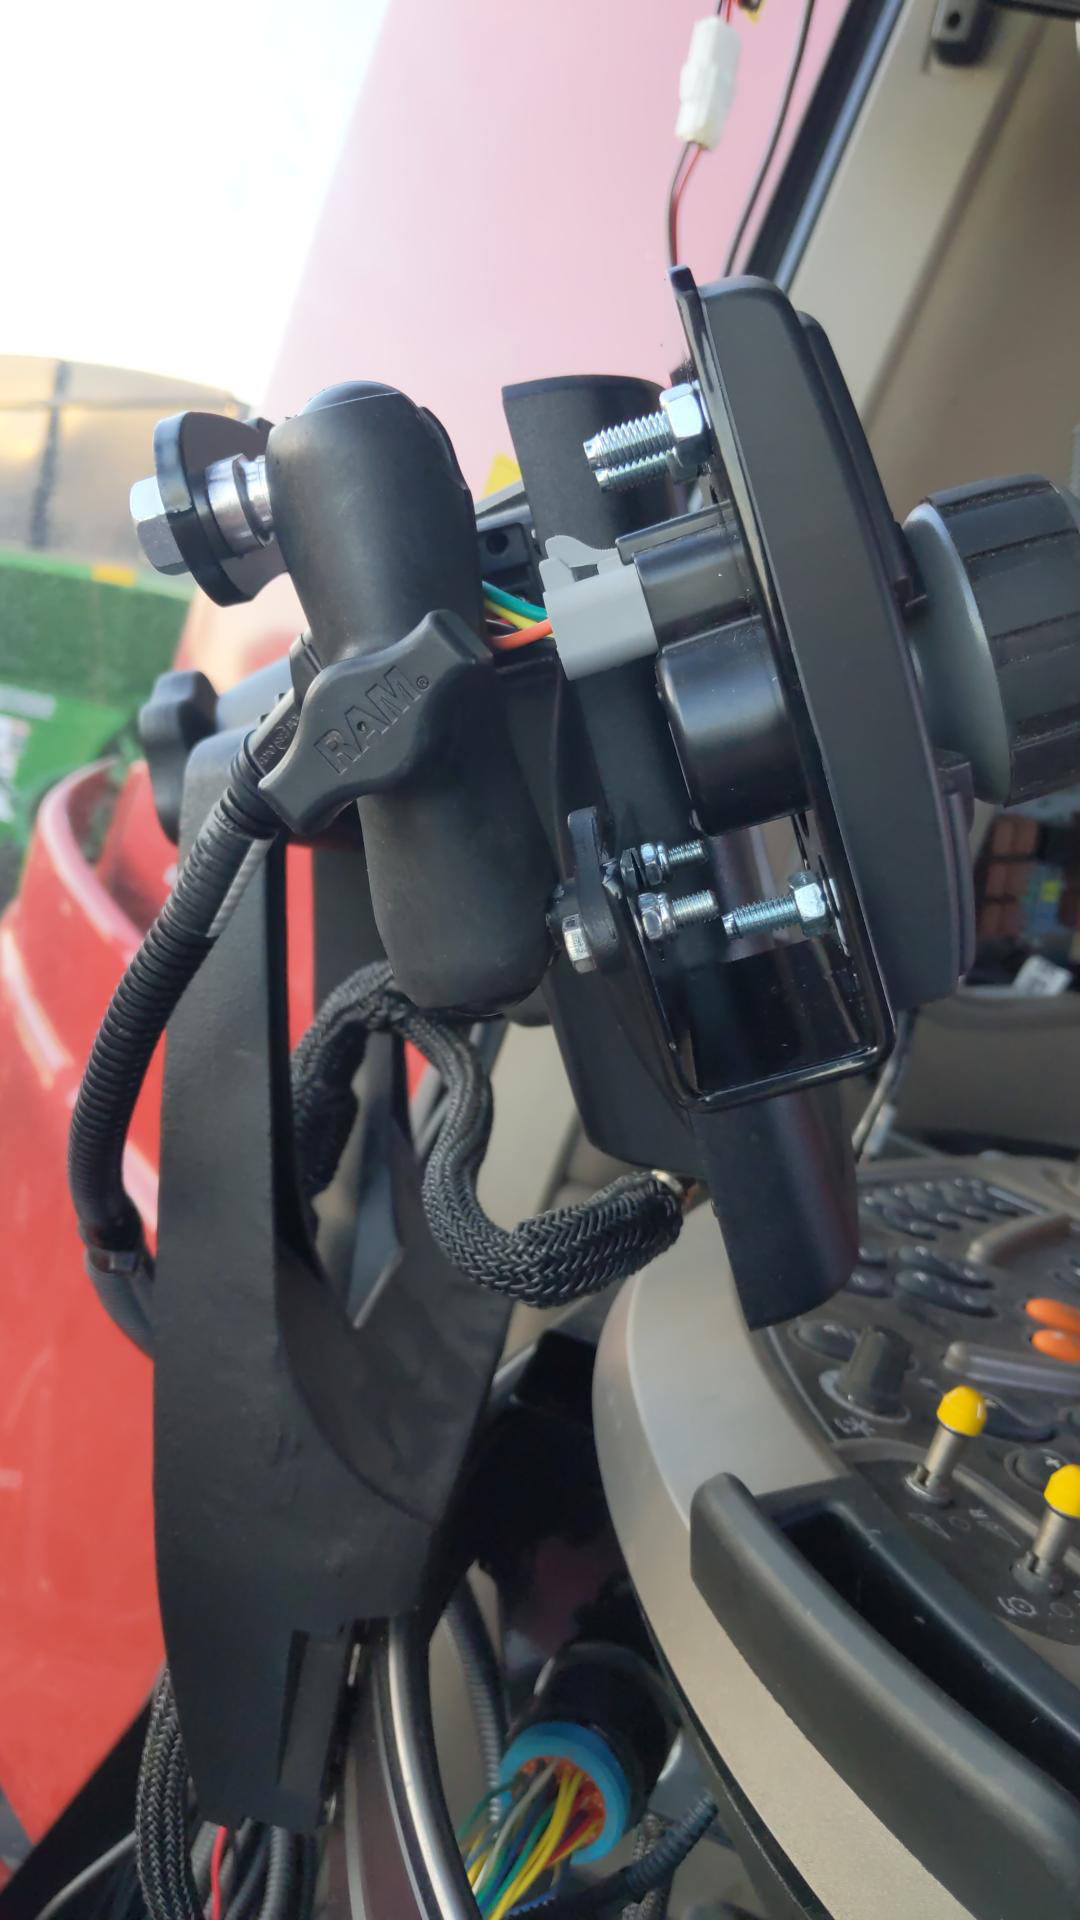
Attach the Cart Remote mount to the rear of the terminal.
-
Attach the Cart Remote to the RAM 1.5 inch Ball Double Socket Arm and adjust as desired.
Install the Cart Remote Harness
Case IH Combines
New Holland Combines
-
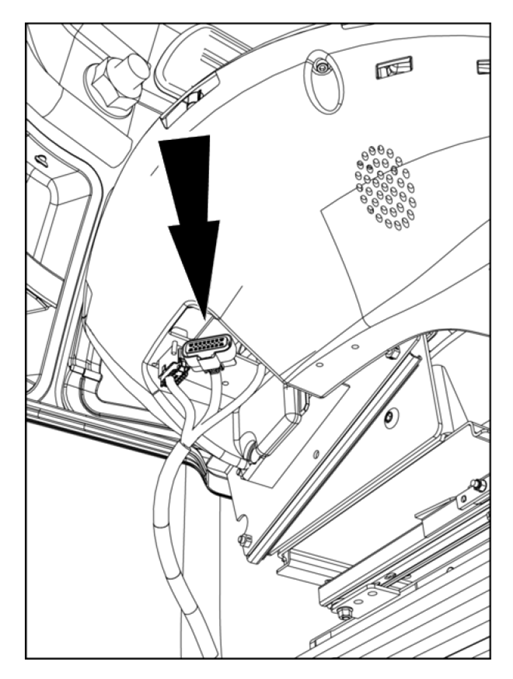
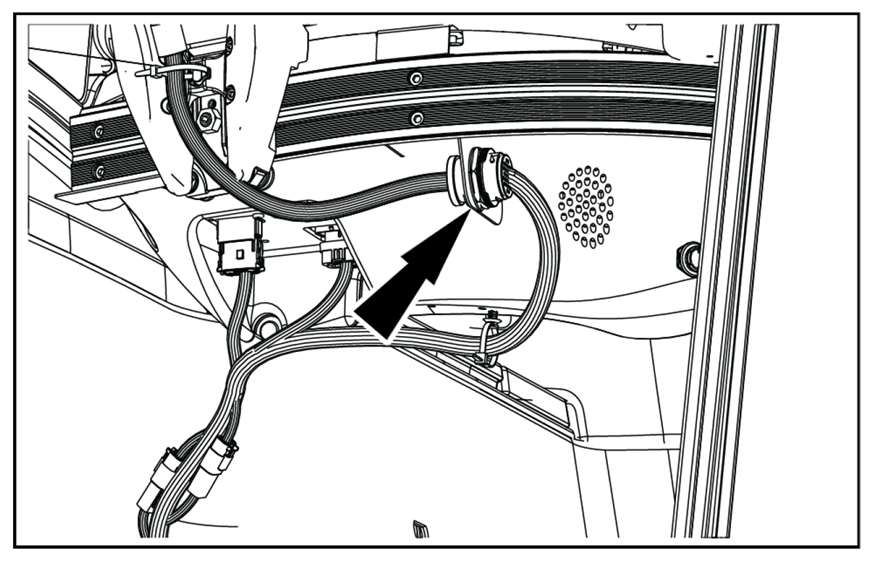
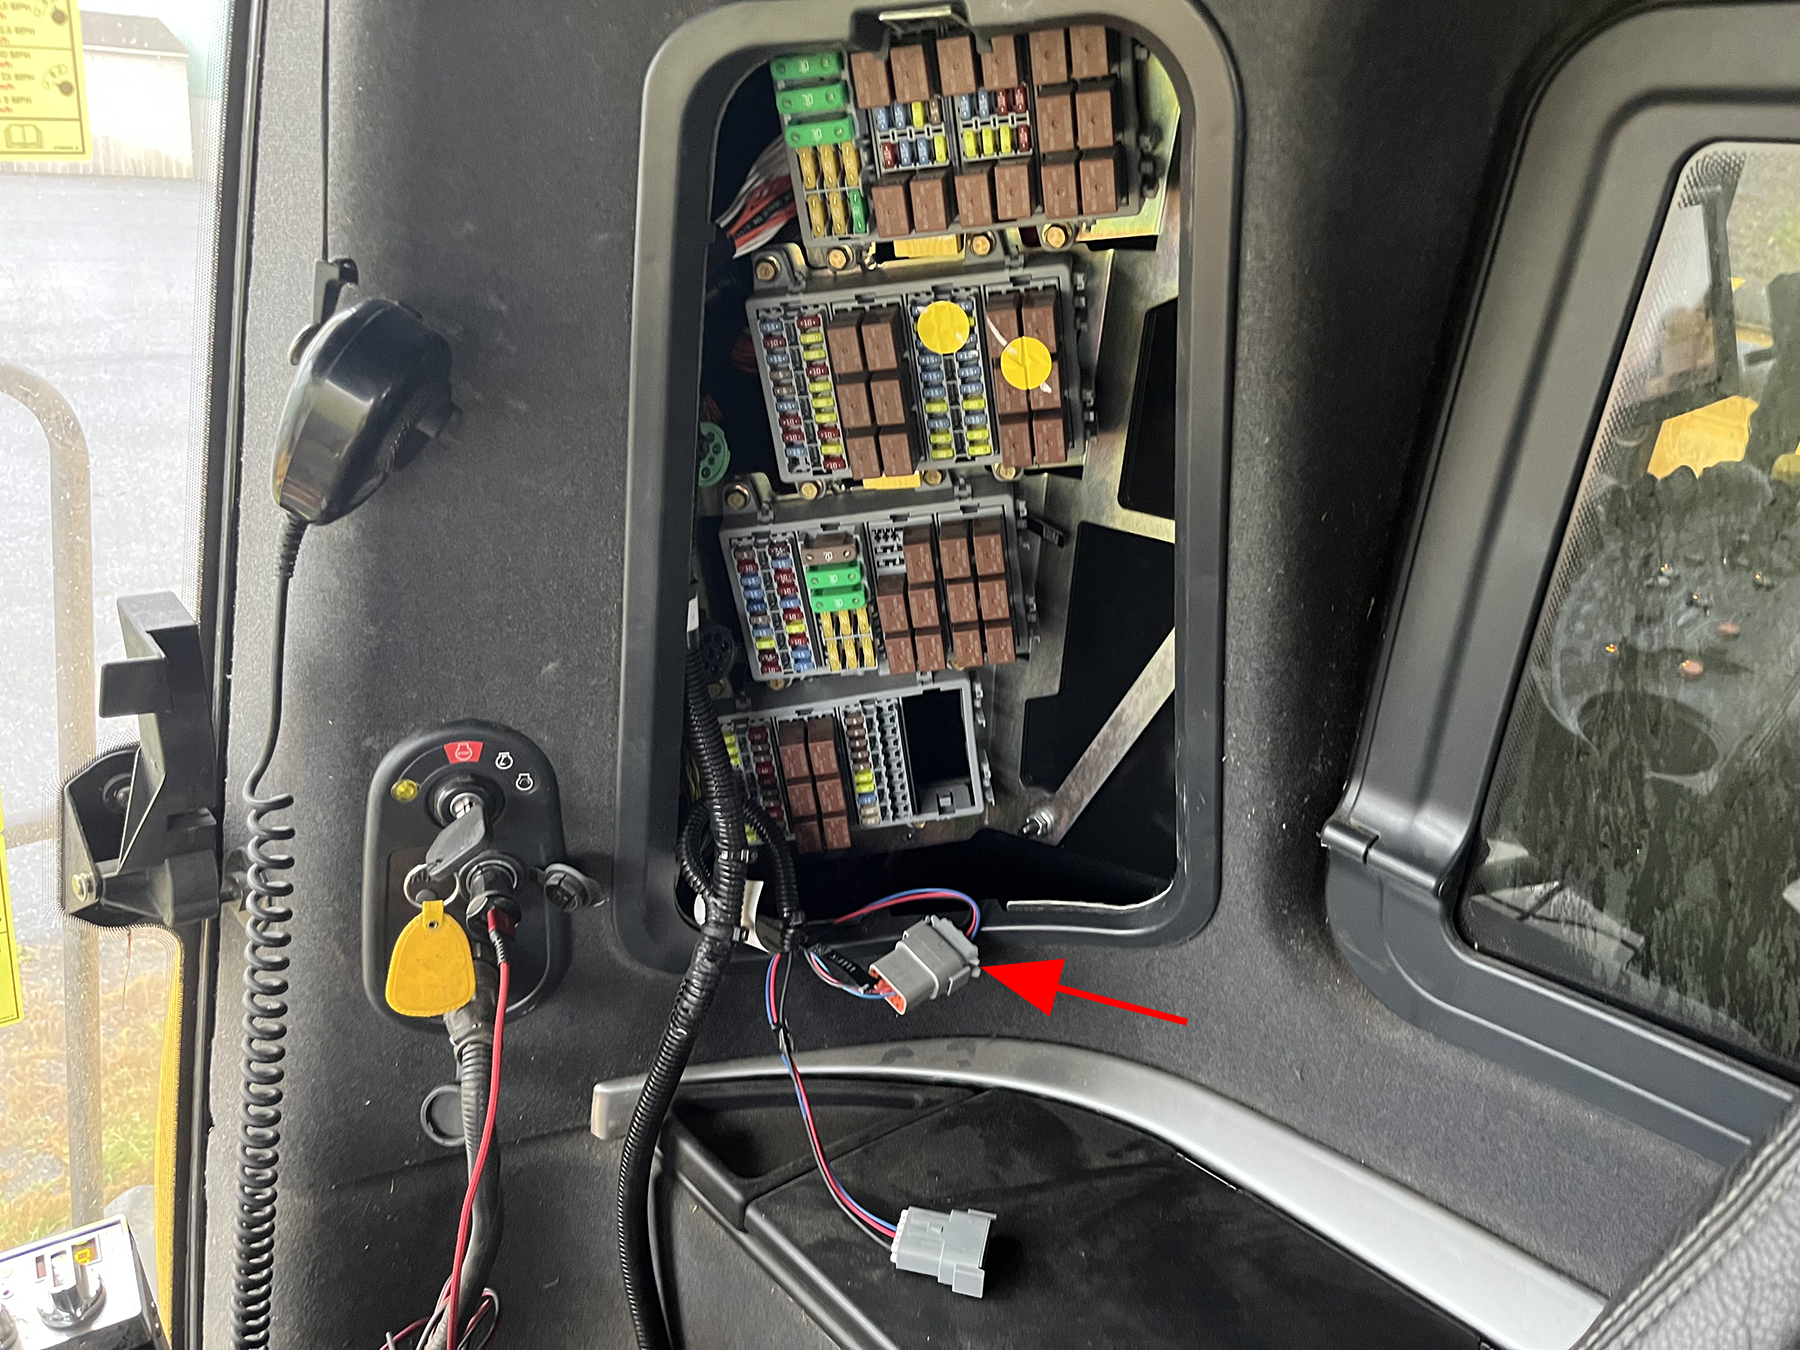
Install the 4 pin DT plug to the Cart Remote and route over to the fuse panel.
-
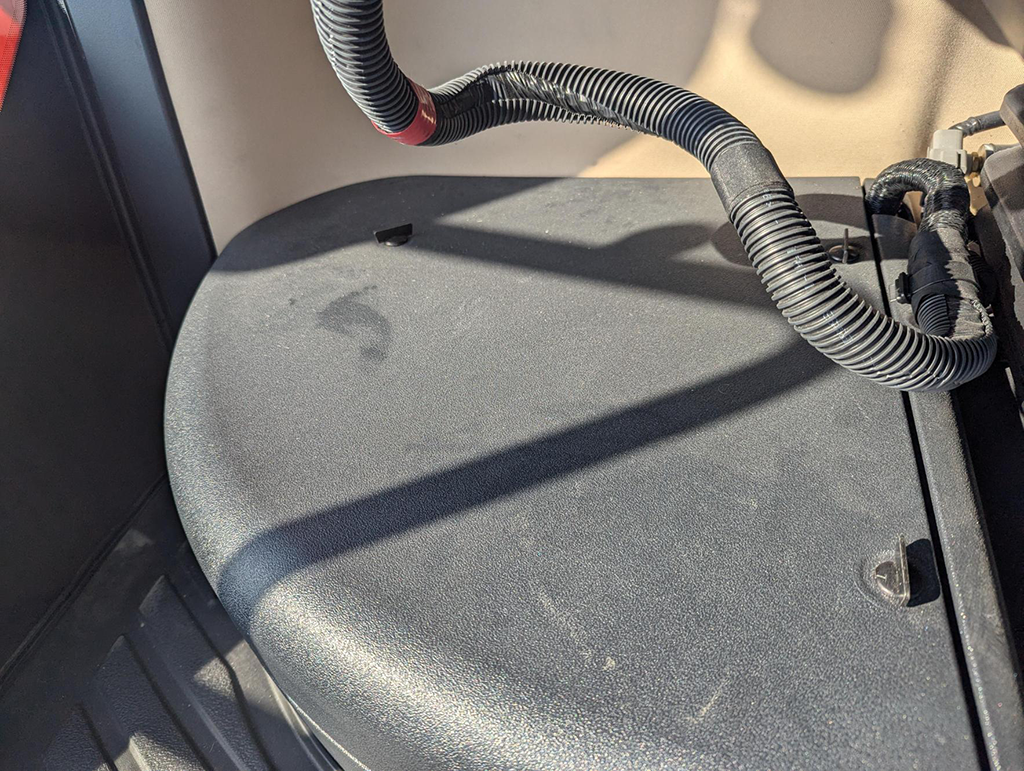
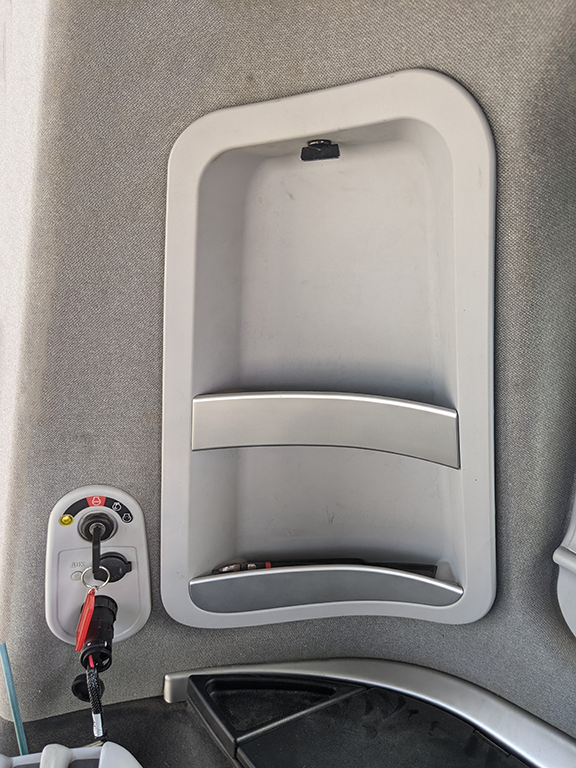
Remove the fuse panel cover from the rear right corner of the cab.
-
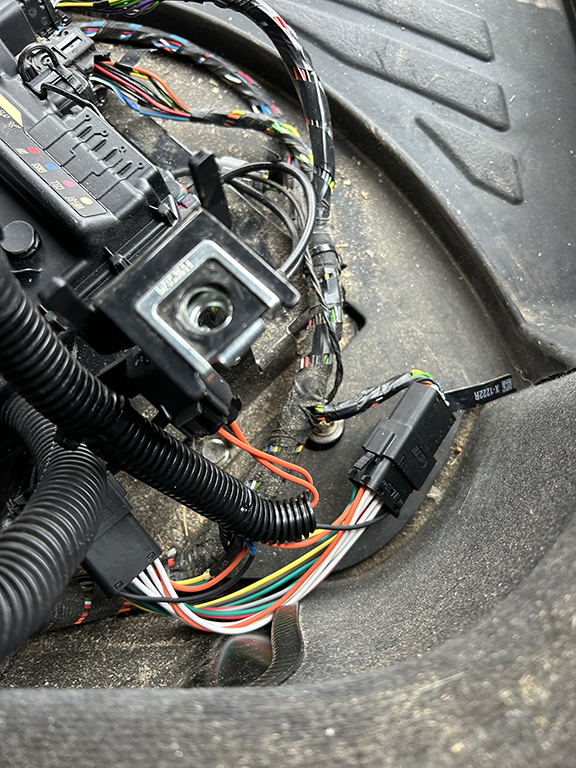
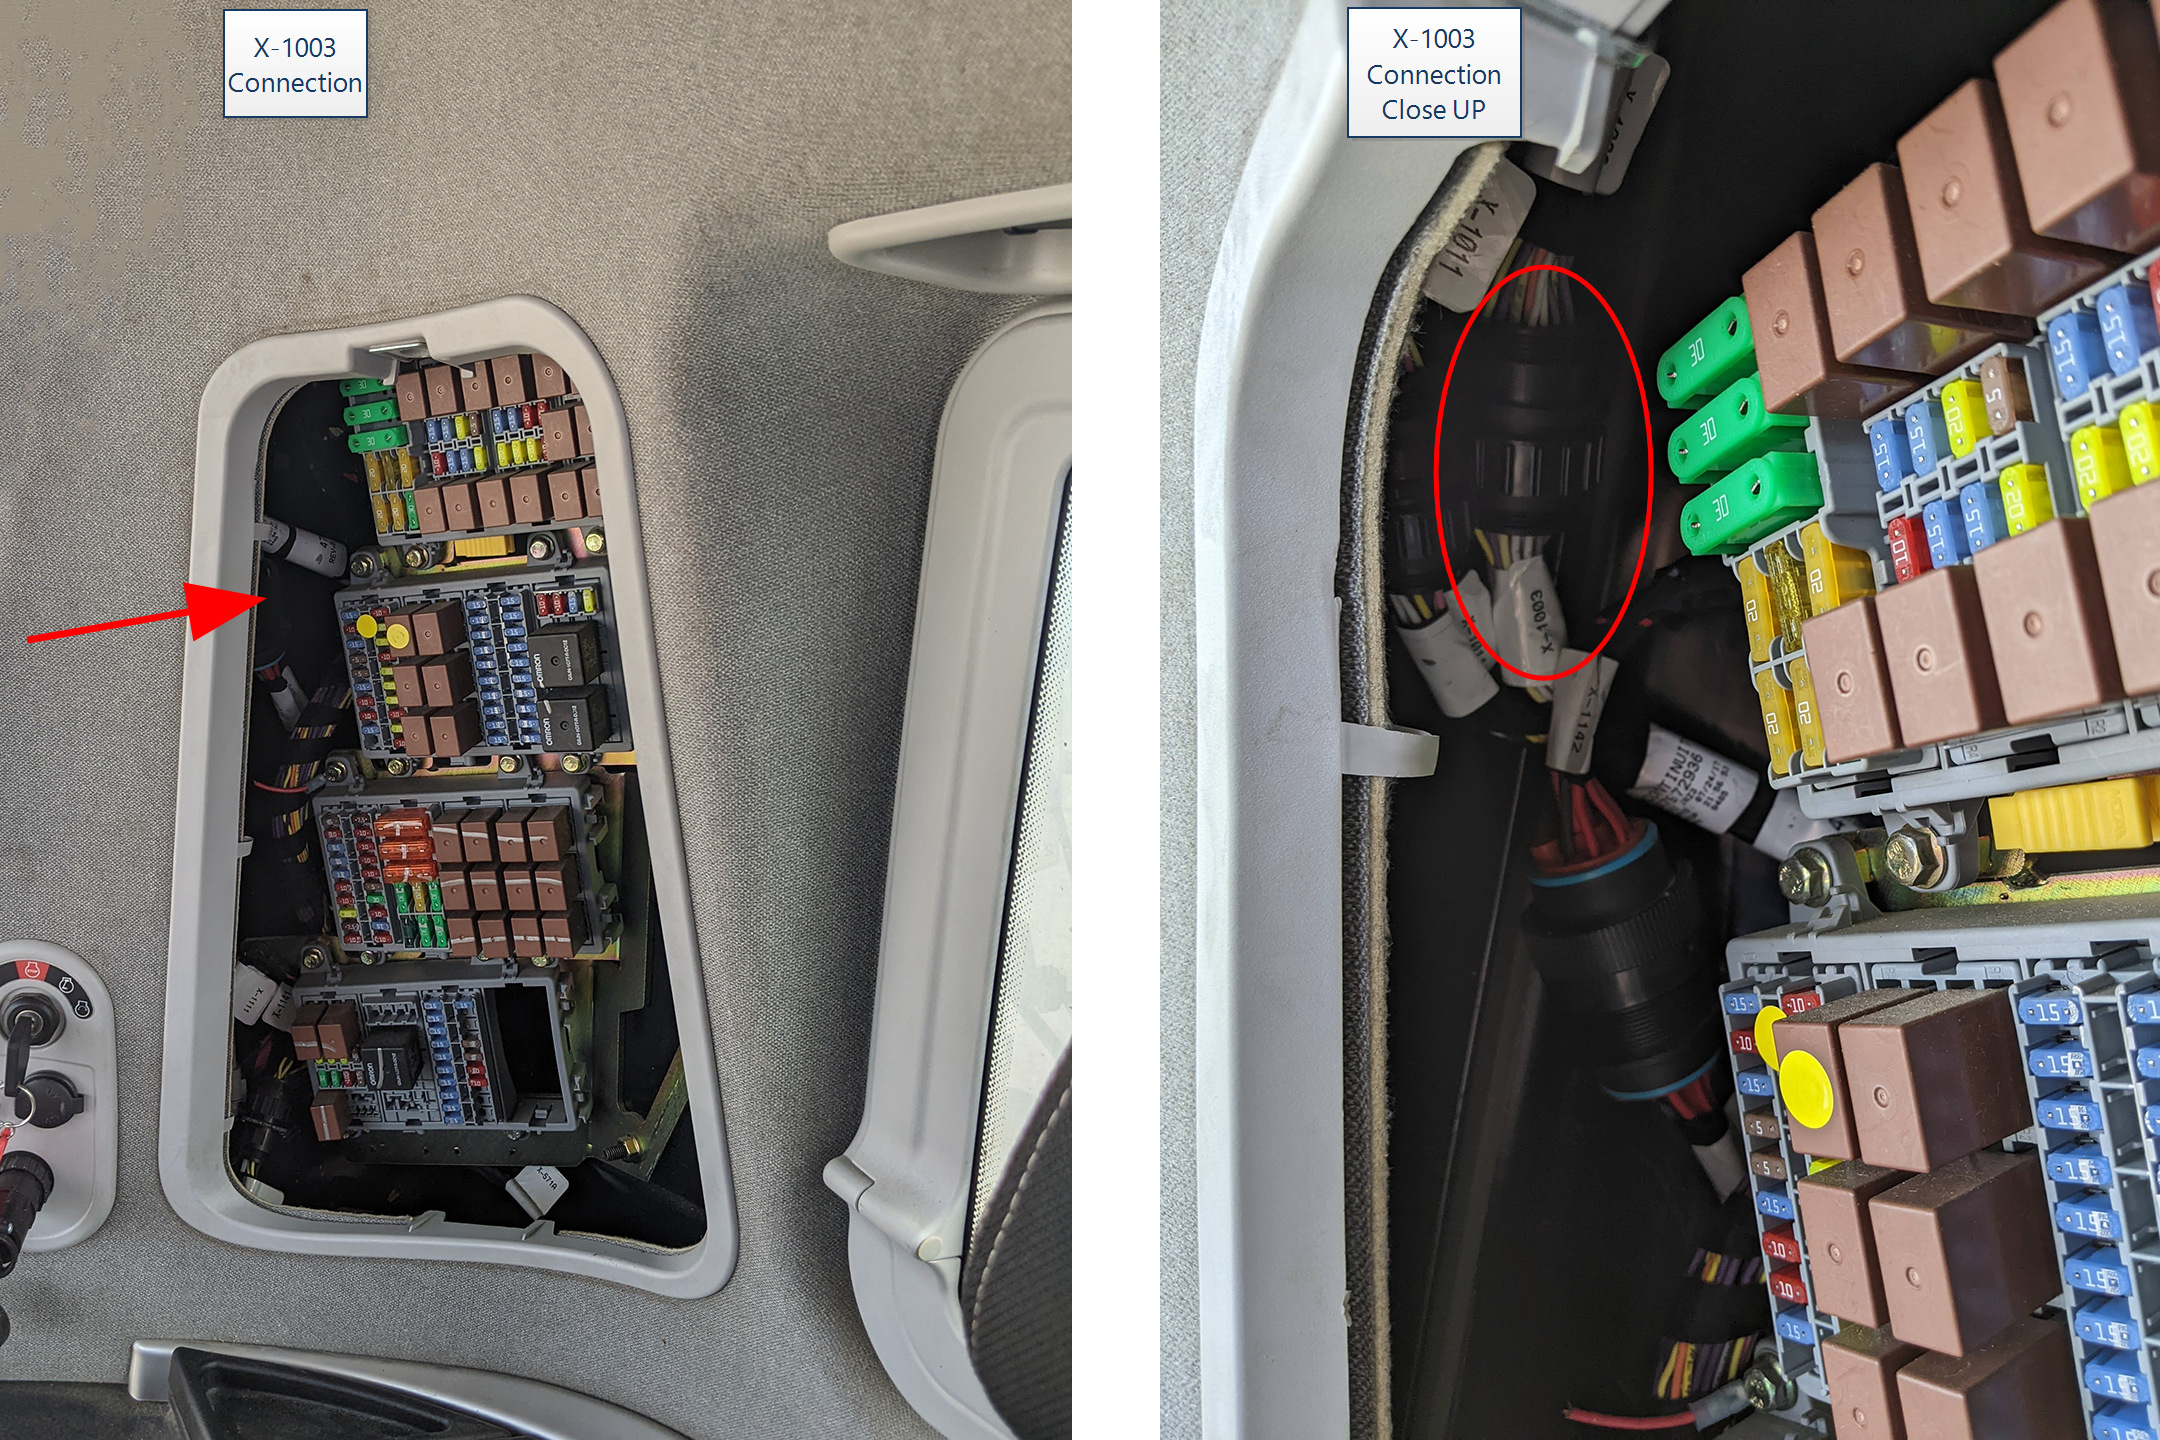
Locate the X-1003 and X-1111 connectors in the fuse box.
-
Break the X-1003 connection and tee the Cart Remote harness in with the X-1003P and X-1003R connectors.
-
Remove the dust plug from the X-1111 connector and plug it into the X-1111R connector. Plug the X-1111P into the now open X-1111 machine connection.
-
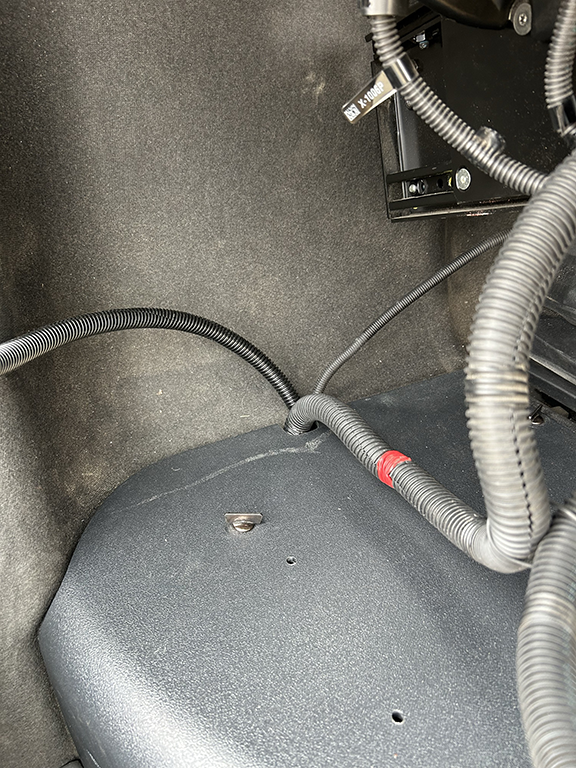
Use tie cables to secure the harness and reinstall the fuse panel cover.
Last Revised: Mar 2025
