Build a New Combine Profile
-
Enter the VT
 A Universal Terminal (formerly Virtual Terminal) is an electronic display or console capable of interfacing with ECUs on an ISOBUS network. Menu and select the Vehicle Navigation tab.
-
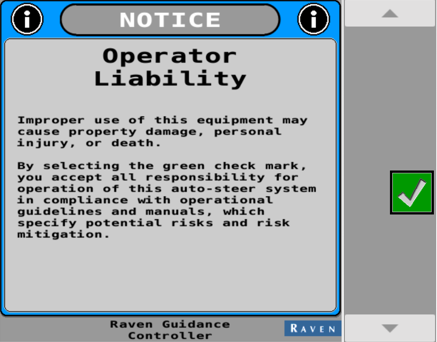
Press the Green Check Mark to accept the Operator Liability Notice.
Note: The system will not work if this step is not completed.
-
Select the correct machine information from the drop down menu.
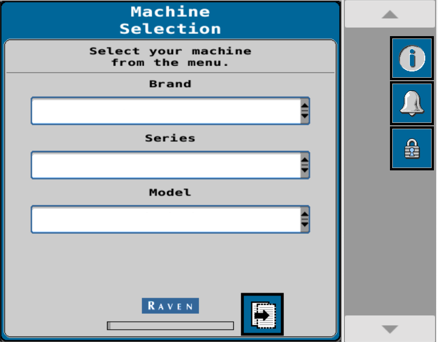
Machine Selection Example
-
Brand - Case IH
-
Series - Axial-Flow 250
-
Model - 7250
-
-
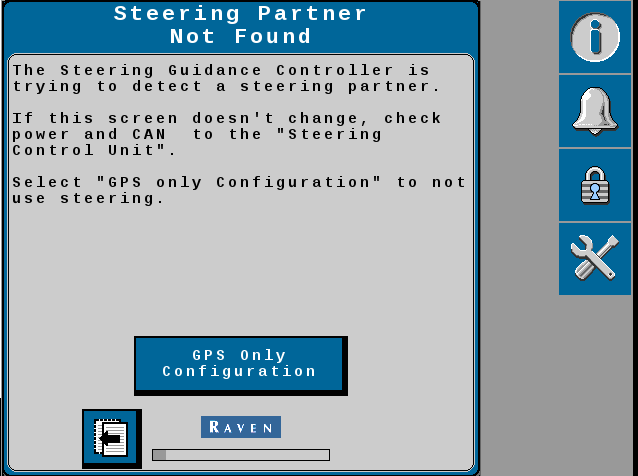
The system will be unable to find a steering partner.
-
Press the GPS Only Configuration button.
-
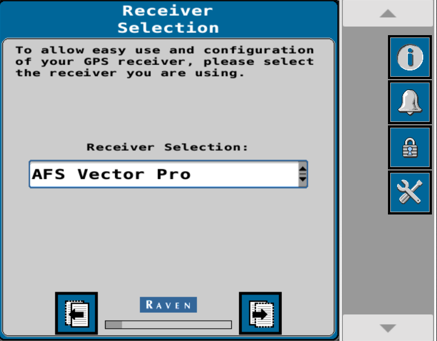
Set the Receiver Selection based on what is installed on the machine.
-
372/392
-
AFS Vector Pro
-
-
Press the Next button.
-
Setup Antenna Fore/Aft measurement will be automatically populated based on the machine selection that was picked earlier.

-
Press the Next button.
-
Setup Antenna Center Offset measurement will be automatically populated based on the machine selection that was picked earlier.

-
Press the Next button.
-
Setup Antenna Height measurement will be automatically populated base on the machine selection that was picked earlier.
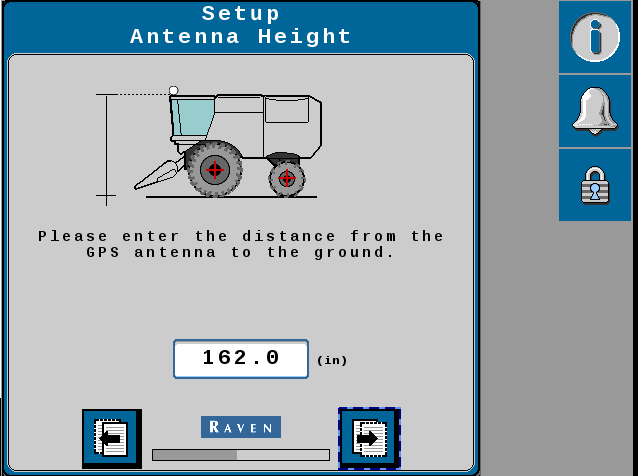
-
Press the Next button.
-
Setup Wheel Base measurement will be automatically populated base on the machine selection that was picked earlier.
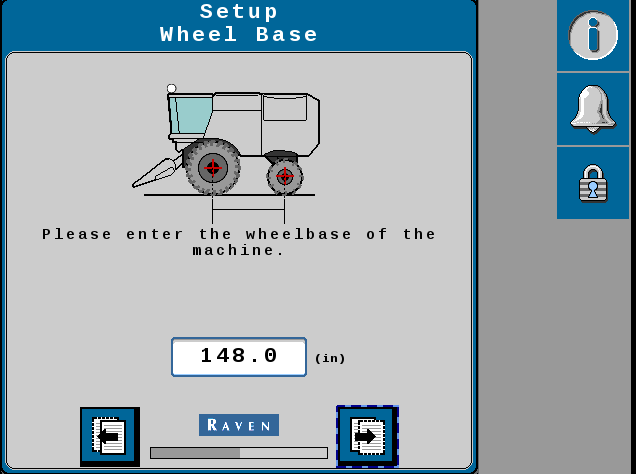
-
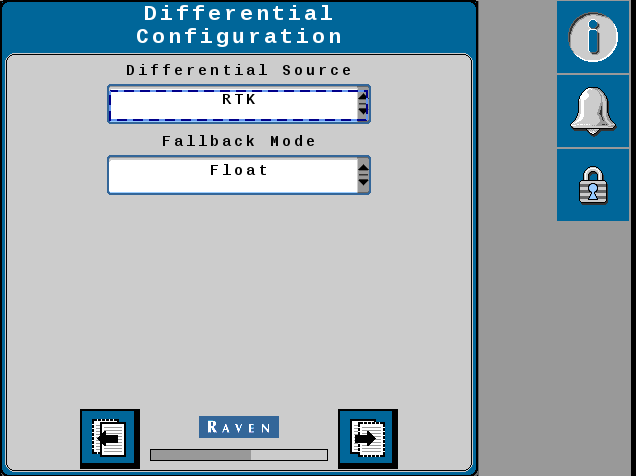
Setup the Differential
Differential Global Positioning System is an enhancement to standard GNSS/GPS messages to provide better position accuracy. Configuration based on the differential source.-
Differential Source - RTX = RTK
Real-time Kinematic -
Fallback Mode - Float
-
-
Press the Next button.
-
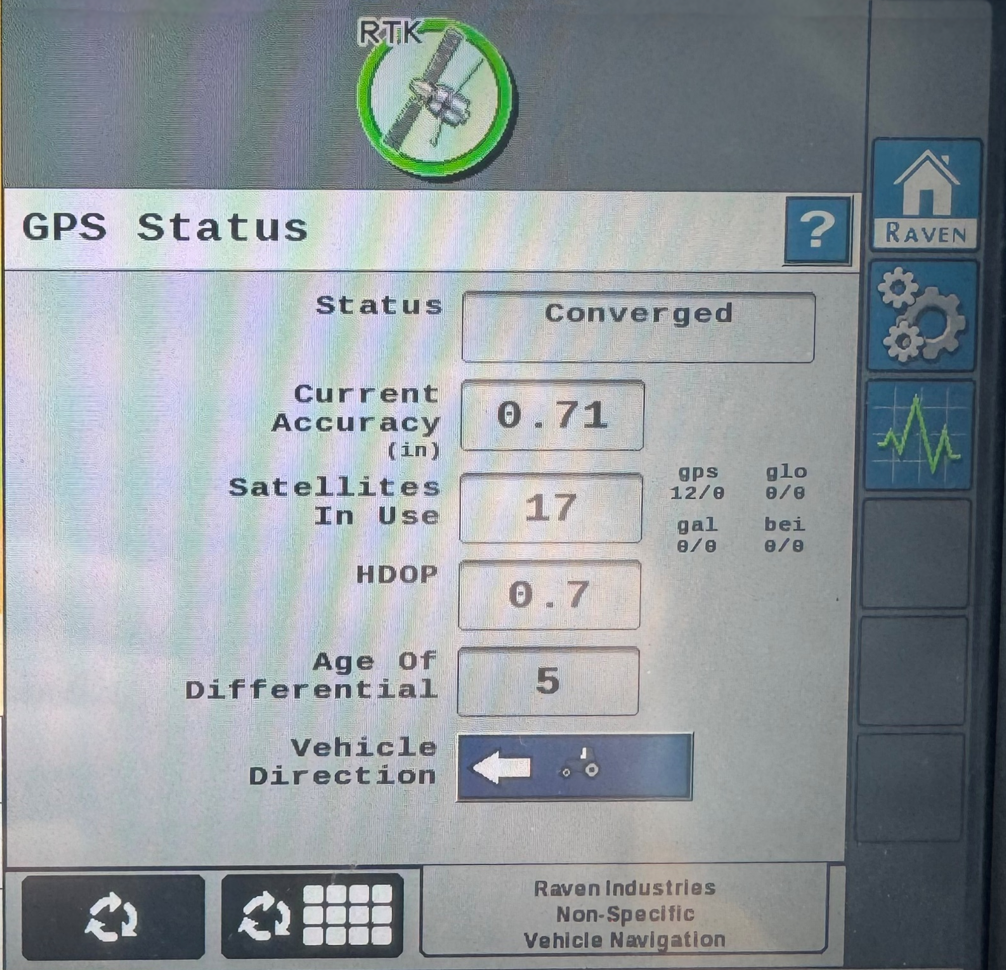
Wait for the GPS Status to change to Converged.

-
Press the Next button.
-
Perform the Terrain Compensation Calibration.
-
Drive the machine forward to establish a direction.
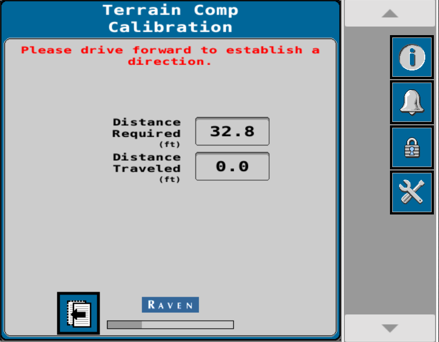
-
Follow the on screen instructions to complete the calibration.
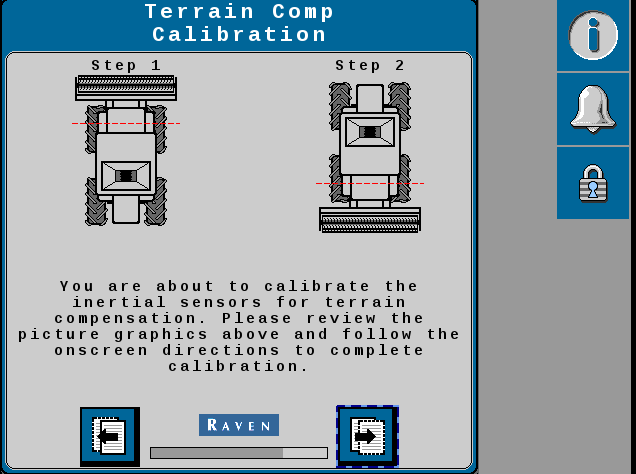
-
Press the Next button.
-
Press the Calibrate button and follow the on screen instructions.


-
Terrain compensation calibration completed.

-
Press the Next button.
-
Perform the Compass Calibration.
Note: The Compass Calibration will be performed at approximately 8 kph [5 mph].
-
Drive forward in a clockwise circle.
-
Press Calibrate.
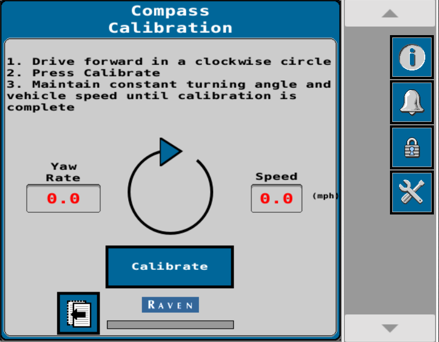
-
Maintain constant turning angle and vehicle speed until calibration is complete.

-
Once completed the should show an accurate compass heading.
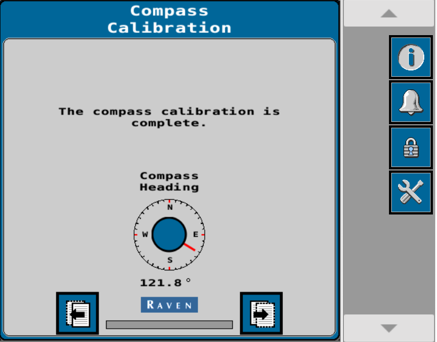
-
Press the Next button.
-
The Calibration Wizard Summary screen will open.

-
Return to the Vehicle Navigation home page.
-
Drive the machine forward and verify the vehicle direction icon of the bottom of the page.
Last Revised: Jun 2025