Build a New Tractor Profile
-
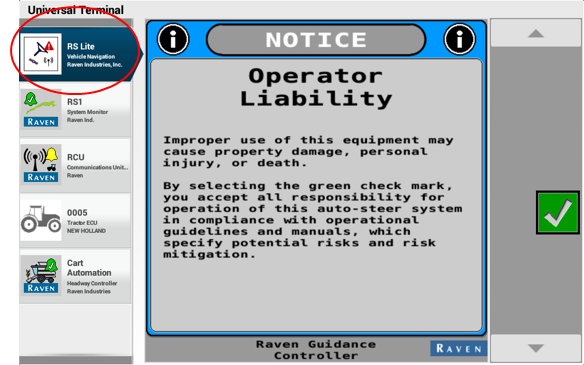
Press the RS Lite tab
 .
.
-
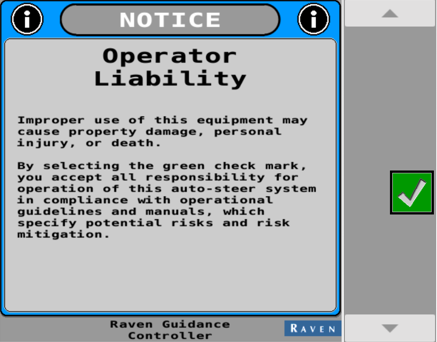
Press the Green Check Mark to accept the Operator Liability Notice.
Note: The system will not work if this step is not completed.
-
Select the correct machine information from the drop down menu.
Note: The Option field may not be present for all vehicle types.
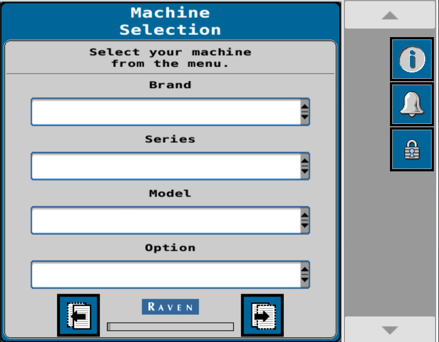
Machine Selection Examples
Note: AFS Connect denotes model year 2020 or newer.
PLM denotes model year 2020 or newer.
Case IH Magnum 380 CVT Model Year 2020 with Wheels
-
Brand - Case IH
-
Series - Magnum
-
Model - AFS Connect 380
-
Option - Wheeled
Case IH Steiger 540 CVT Quadtrac Model Year 2022
-
Brand - Case IH
-
Series - Steiger
-
Model - AFS Connect 540
-
Option - Quadtrac
New Holland T9 600 CVT Model Year 2022 with Wheels
-
Brand - New Holland
-
Series - T9
-
Model - T9.600 PLM
-
Option - Wheeled
-
-
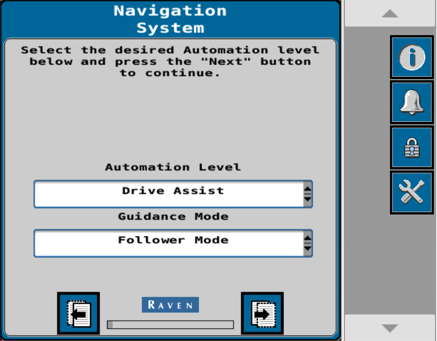
Set the Navigation System:
-
Automation Level - Drive Assist
-
Guidance Mode - Follower Mode
-
-
Verify that CNH UCM is set as the Steering Partner.
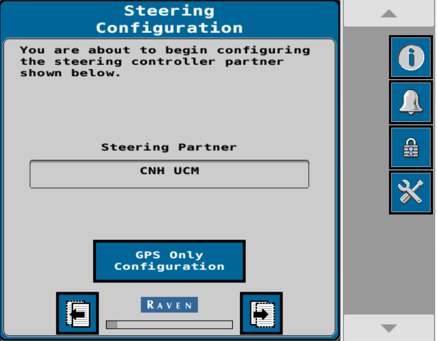
-
Press the Next button.
-
Set the Receiver Selection to AFS Vector Pro.
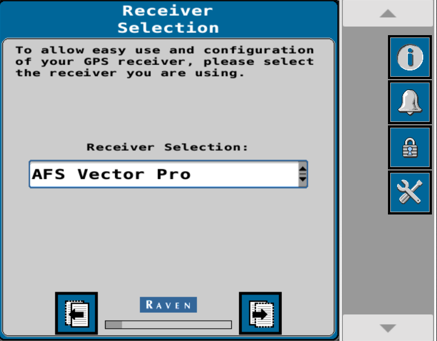
-
Press the Next button.
-
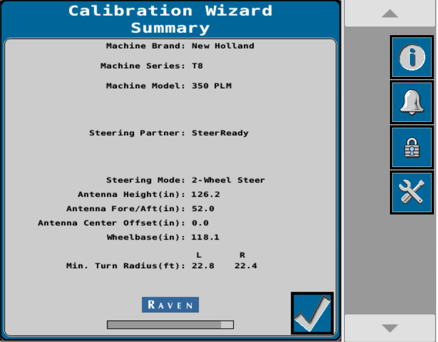
Setup Antenna Fore/Aft measurement will be automatically populated based on the machine selection that was picked earlier.
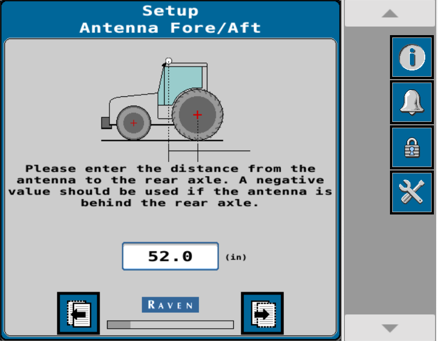
-
Press the Next button.
-
Setup Antenna Center Offset measurement will be automatically populated based on the machine selection that was picked earlier.
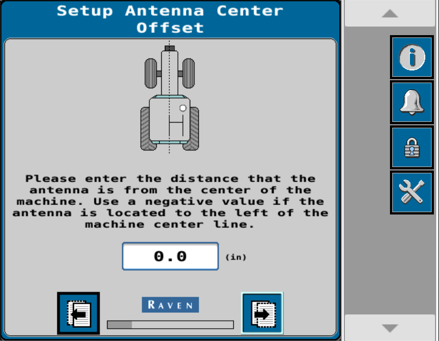
-
Press the Next button.
-
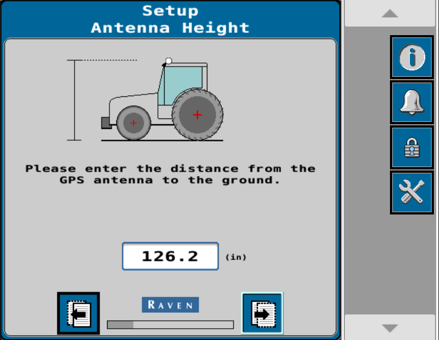
Setup Antenna Height measurement will be automatically populated base on the machine selection that was picked earlier.
-
Press the Next button.
-
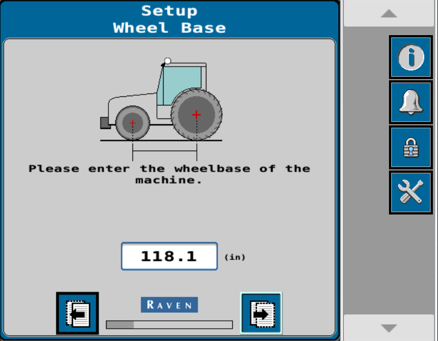
Setup Wheel Base measurement will be automatically populated base on the machine selection that was picked earlier.
-
Press the Next button.
-
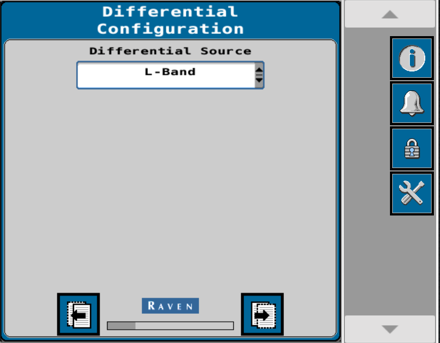
Setup the Differential
 Differential Global Positioning System is an enhancement to standard GNSS/GPS messages to provide better position accuracy. Configuration based on the differential source.
-
RTK
Real-time Kinematic = RTK -
AFS3/PLM = L-Band
-
-
Press the Next button.
-
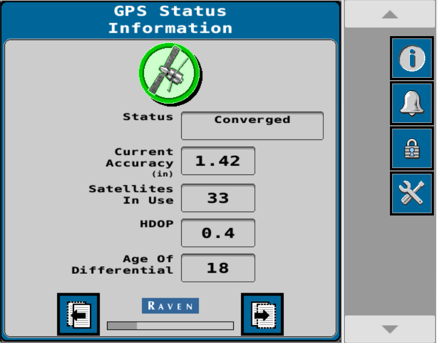
Wait for the GPS Status to change to Converged.
-
Press the Next button.
-
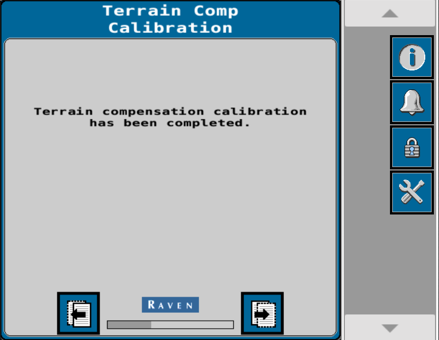
Perform the Terrain Compensation Calibration.
-
Drive the machine forward to establish a direction.
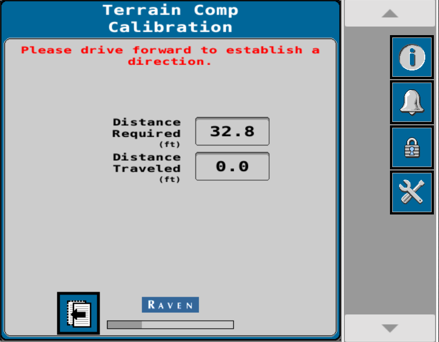
-
Follow the on screen instructions to complete the calibration.
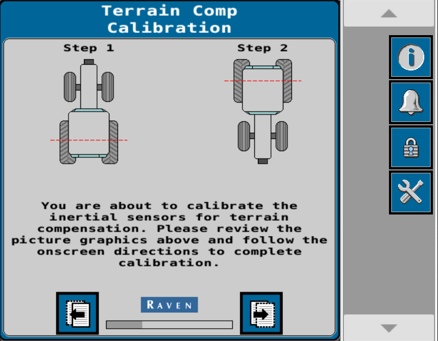
-
Press the Next button.
-
Press the Calibrate button and follow the on screen instructions.
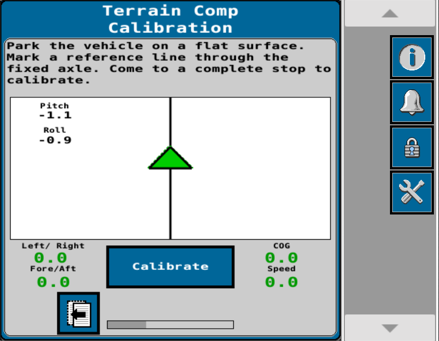
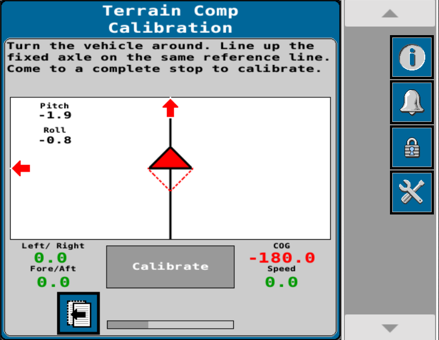

-
Terrain compensation calibration completed.
-
Press the Next button.
-
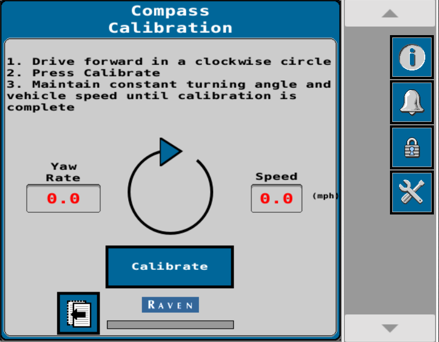
Perform the Compass Calibration.
Note: The Compass Calibration will be performed at approximately 8 kph [5 mph].
-
Drive forward in a clockwise circle.
-
Press Calibrate.
-
Maintain constant turning angle and vehicle speed until calibration is complete.

-
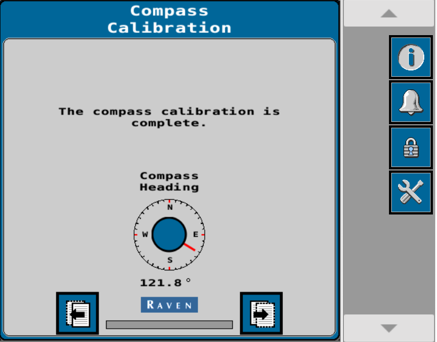
Once completed the should show an accurate compass heading.
-
Press the Next button.
-
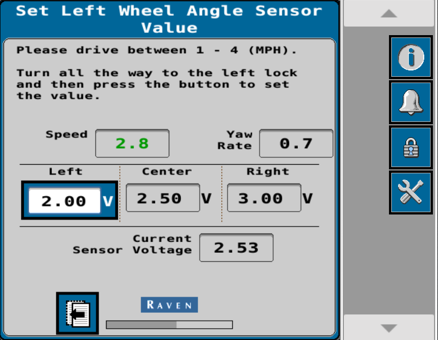
Calibrate the Wheel Angle Sensor.
-
Drive forward between 1.6 - 6.4 km/h [1 - 4 mph]
-
Turn the steering wheel all the way to the left steering lock.
-
Press the Left button to set the left WAS value.
Note: Do not turn the steering wheel until the WAS page advances to the Center WAS setting.
-
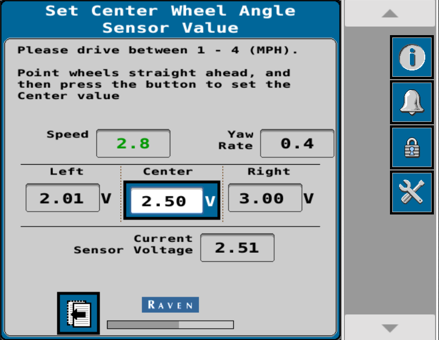
Drive forward between 1.6 - 6.4 km/h [1 - 4 mph] with the machine wheels pointing straight ahead.
-
Press the Center button to set the center WAS value.
Note: Do not turn the steering wheel until the WAS page advances to the Right WAS setting.
-
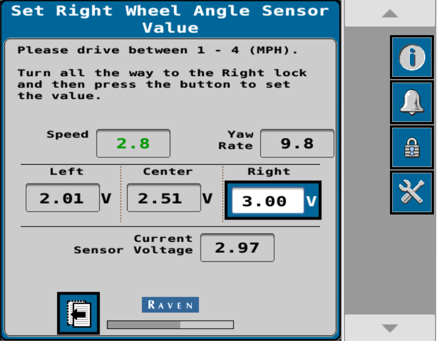
Drive forward between 1.6 - 6.4 km/h [1 - 4 mph].
-
Turn the steering wheel all the way to the right steering lock.
-
Press the Right button to set the right WAS value.
-
Review the WAS Calibration Complete screen.

-
Press the Next button.
Calibrate the Machine Steering System
The steering control calibration process allows the system to learn the hydraulic capabilities of the machine for optimal steering performance in the field.
Note: During calibration, the machine will make several hard left and right turns. Adjust the vehicle speed and location as necessary.
|
|
|
|---|---|
|
|
The machine will steer automatically. Be sure the area around the vehicle is clear of people and obstacles before engaging the auto-steer system. To disengage auto-steering at any time, turn the steering wheel or select the on-screen Stop button. |
 warning
-
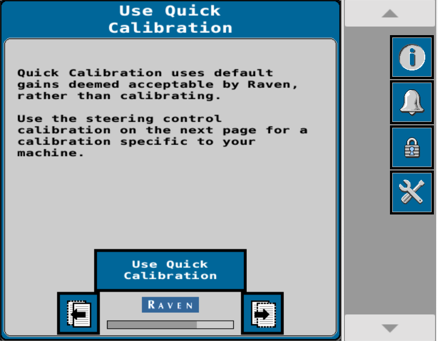
Do not use the quick calibration to calibrate the steering system.
-
Press the Next button.
-
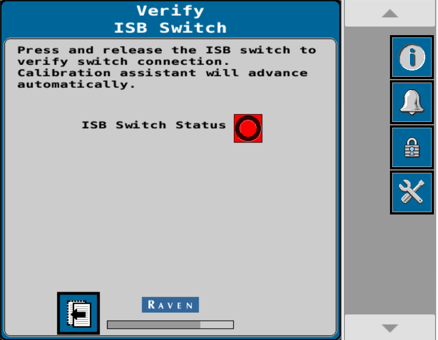
Press and release the ISB switch.
-
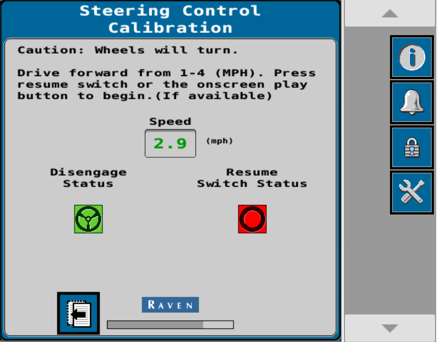
Begin driving forward at a speed between 1.6 and 6.4 km/h [1 and 4 mph].
-
Press the auto-steer button to start the calibration.
Note: Make sure to disable AFS/PLM guidance prior to calibration or it will not complete successfully.
-
The following information will be displayed during the calibration process.
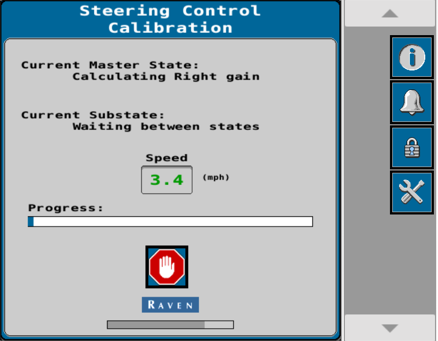
-
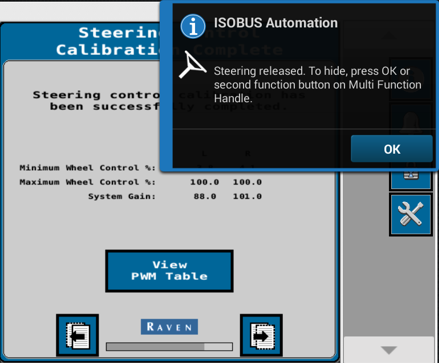
Steering will be released and user will receive a pop up window.
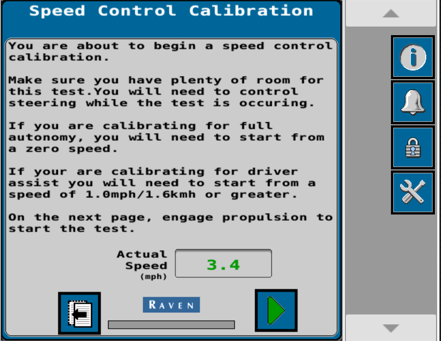
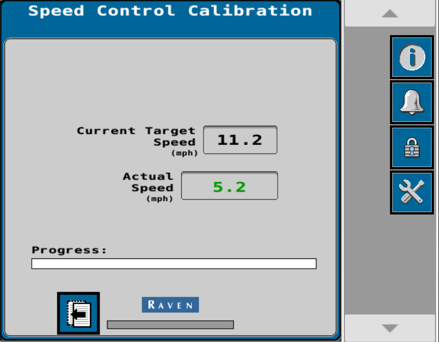
Speed Control Calibration
-
Follow the on screen instructions to complete the calibration.
-
Make sure there is plenty of room for performing this test. Steering will need to be controlled during the test.
-
If calibrating for full autonomy you will need to start from zero speed.
-
If calibrating for driver assist you will need to start from a speed of 1.6 km/h [1.0 mph].
-
-
Begin to drive forward and press the Next button.
Note: If performing the calibration with a CVT transmission make sure that the A post speed is set at 19.3 km/h [12.0 mph].
-
Speed control calibration in process.
-
Speed control calibration has been completed.

-
Speed control calibration summary.
-
Return to the vehicle navigation home screen.
Last Revised: Jun 2025