Activate a Slingshot® Device
The following steps provide information for completing the Online Activation Form (OLAF![]() Online Activation Form) to activate Slingshot® enabled devices.
Online Activation Form) to activate Slingshot® enabled devices.
- Access the Online Activation Form at activation.ravenslingshot.com from either your mobile device or computer.
- Current users can log in using their Slingshot® account. New users must create an account.
Note: If accessing from an Android device a prompt will appear asking to install / add to the home screen. Saving to the home screen will allow easy access to the form for future activations.
If accessing from an iOS device you need to navigate to the Add to Home Screen option to save to your home screen. Saving to the home screen will allow easy access to the form for future activations.
- The launch page will open stating to Activate Your Hardware.
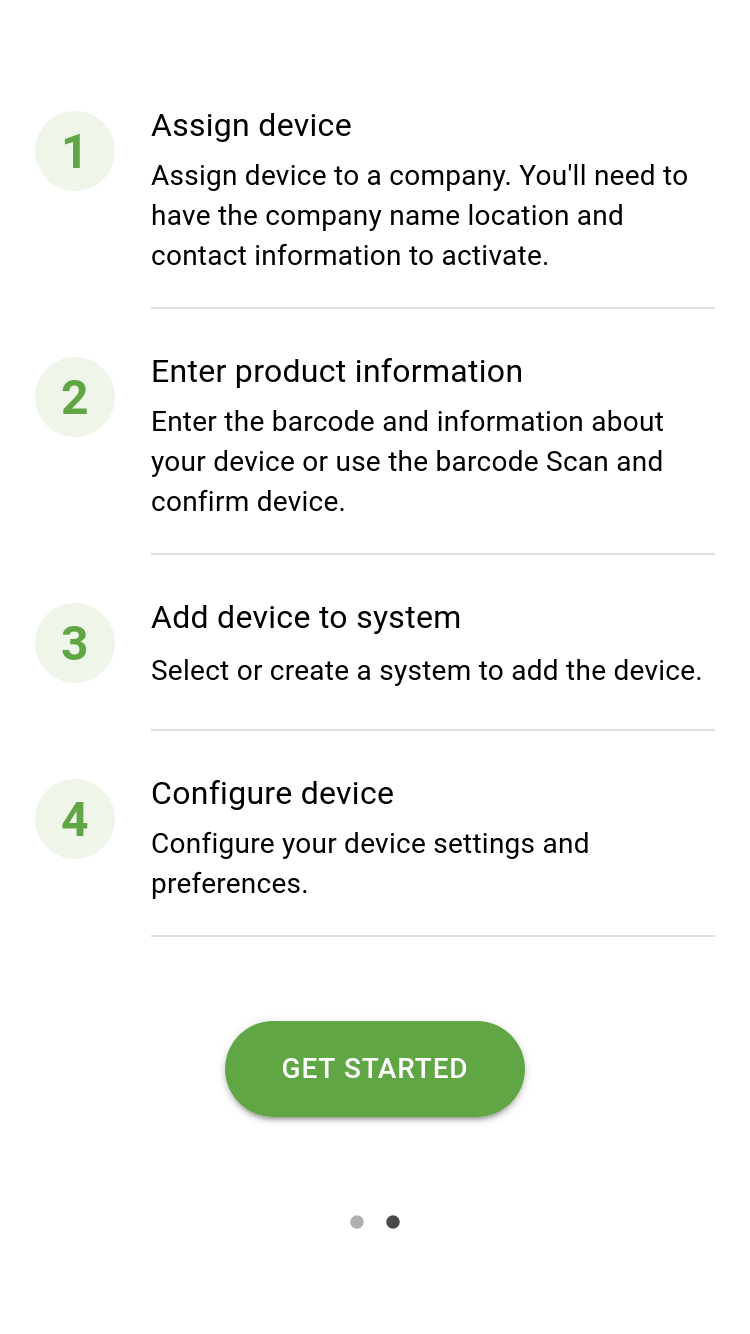
- The next window lists an overview of the steps that need to be completed. Press the Get Started button.
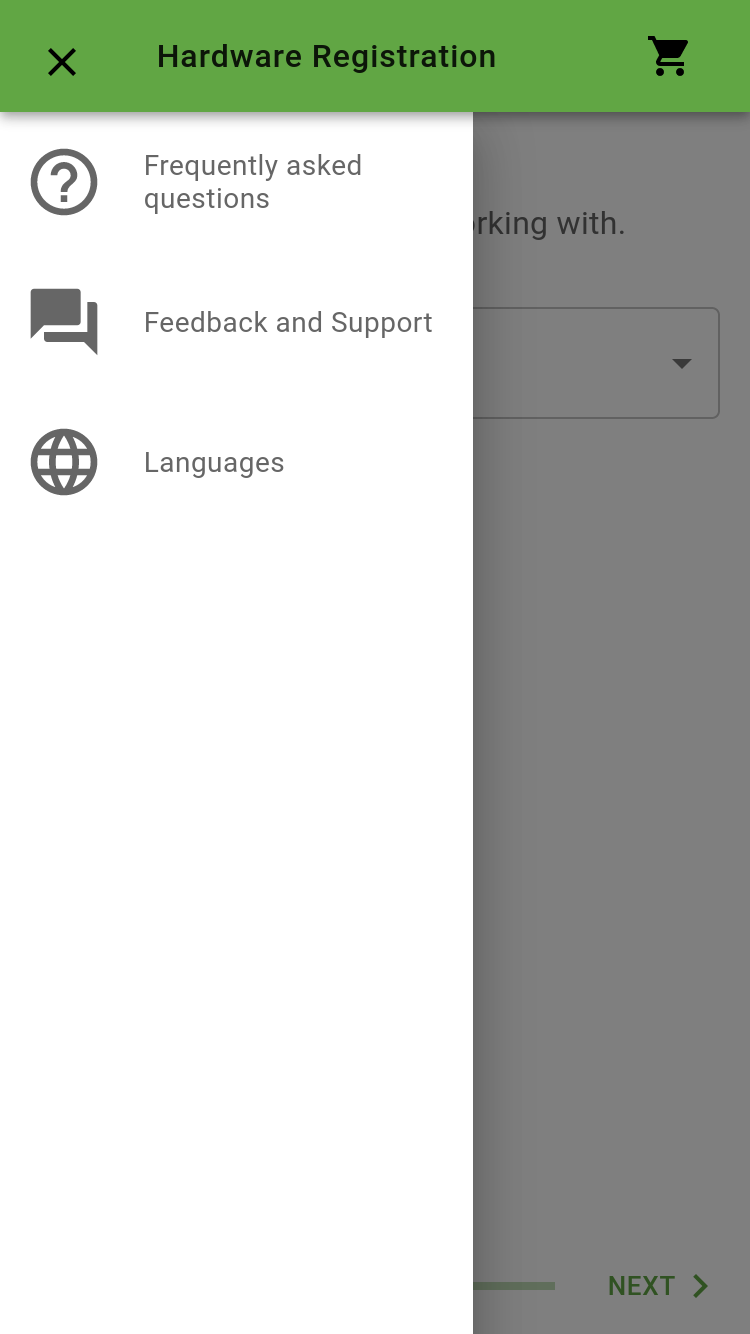
- Press the Menu
button in the upper left corner at any time during the activation for additional support.
- Press the Shopping Cart
 button in the upper right corner at any time to view the items added to the shopping cart.
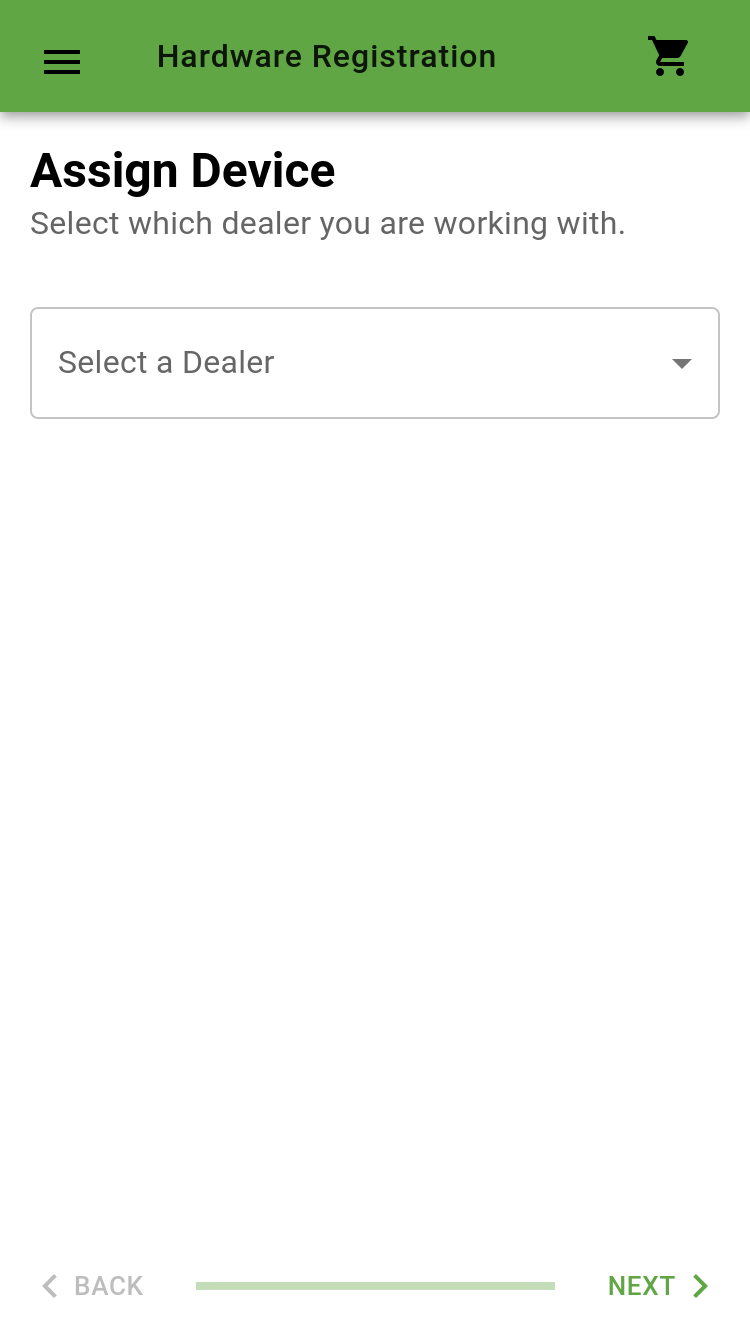
 - If a dealer is doing the activation select the desired dealer to be associated to the device from the drop down window.
Note: This step is only shown when logged in as a dealer
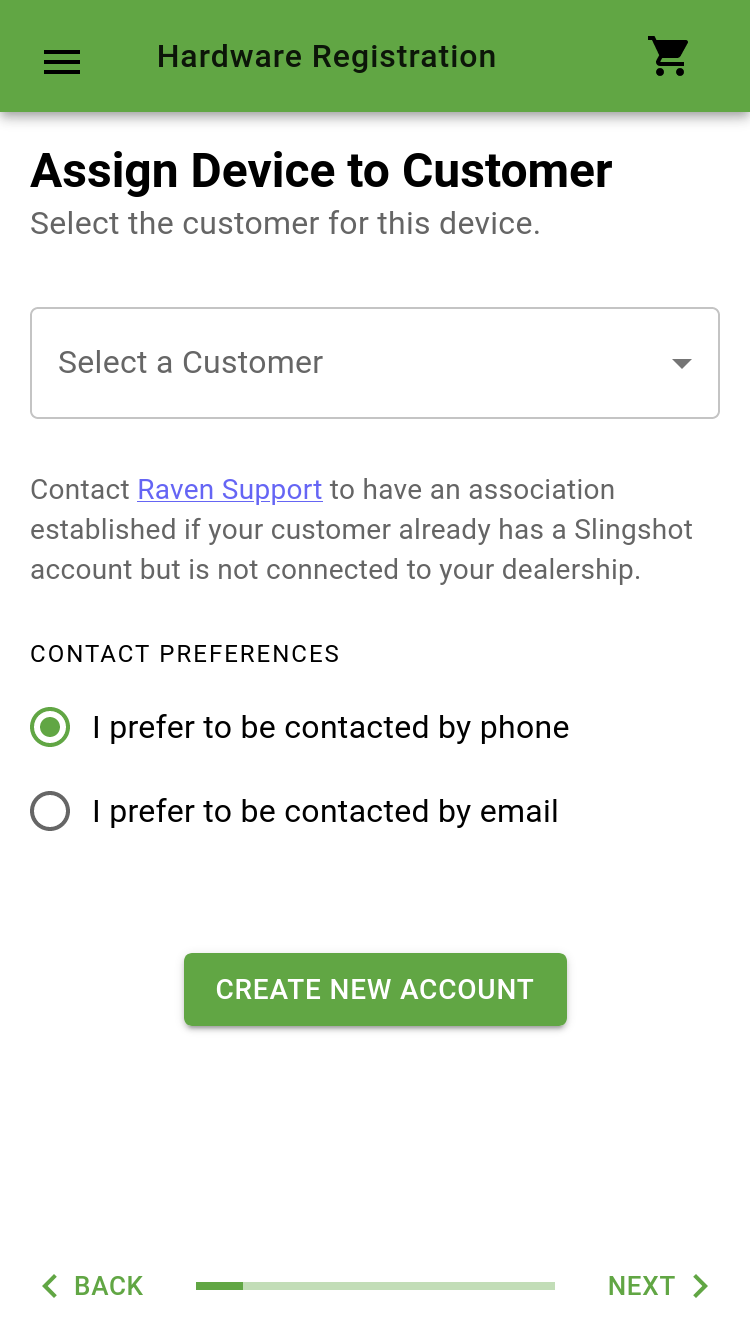
- Assign the device to a customer. Select the desired Customer from the drop down window.
Note: If a customer already has a Slingshot® account but is not connected to your dealership please contact Raven Support.
- Select the desired Contact Preferences.
- If a customer has not set up an account press the Create New Account button. Otherwise, press the Next button.
 Create New Account
Note: To create a new account complete the following steps otherwise proceed to Step 11.
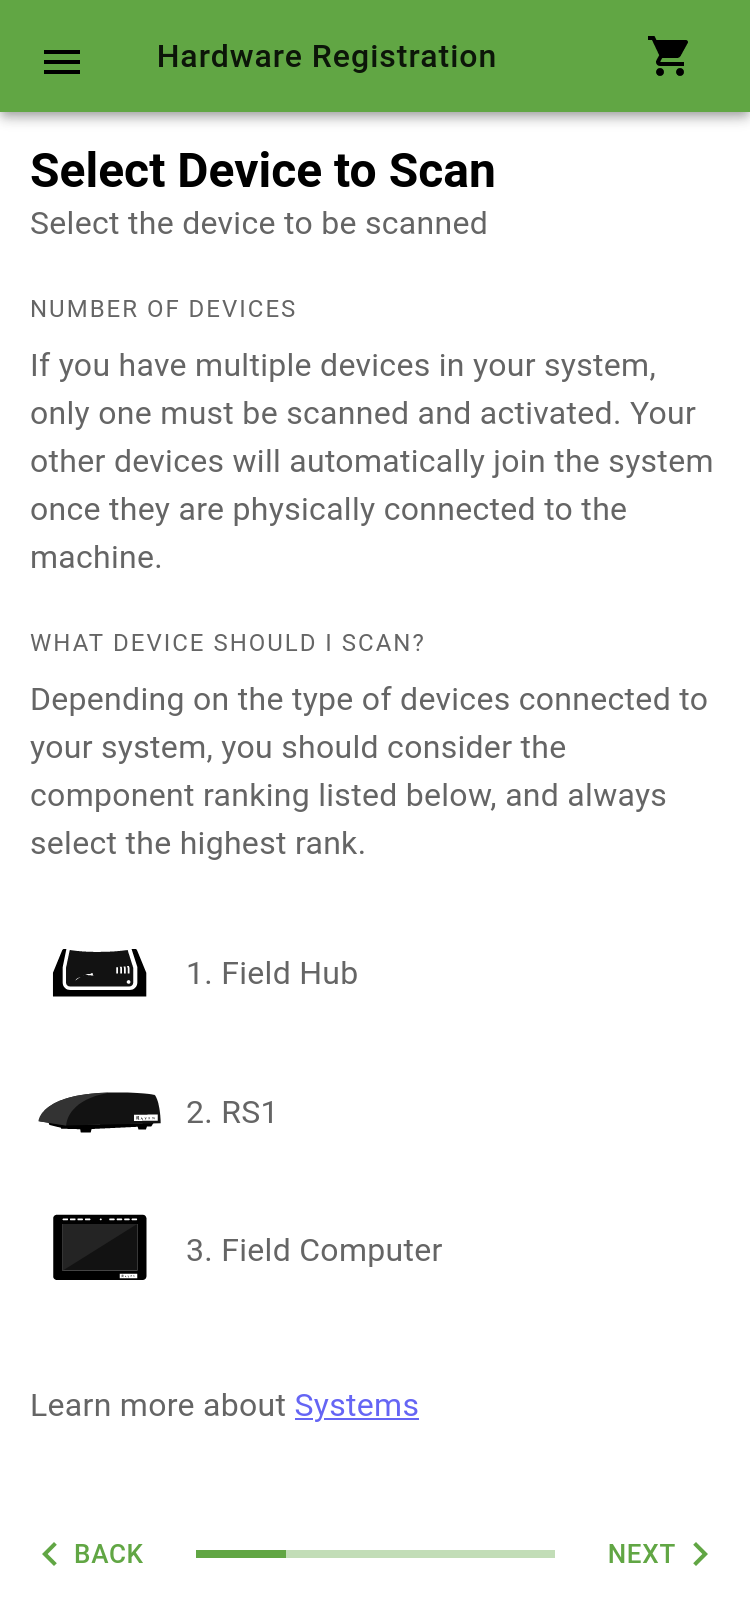
- If there are multiple devices in the system, only one device needs to be scanned and activated. The other devices will automatically join the system once they are physically connected to the machine.
When choosing which device to scan, use the component ranking listed below and always select the highest rank.
- Field Hub
- RS1™
- Field Computer
- Press the Next button.
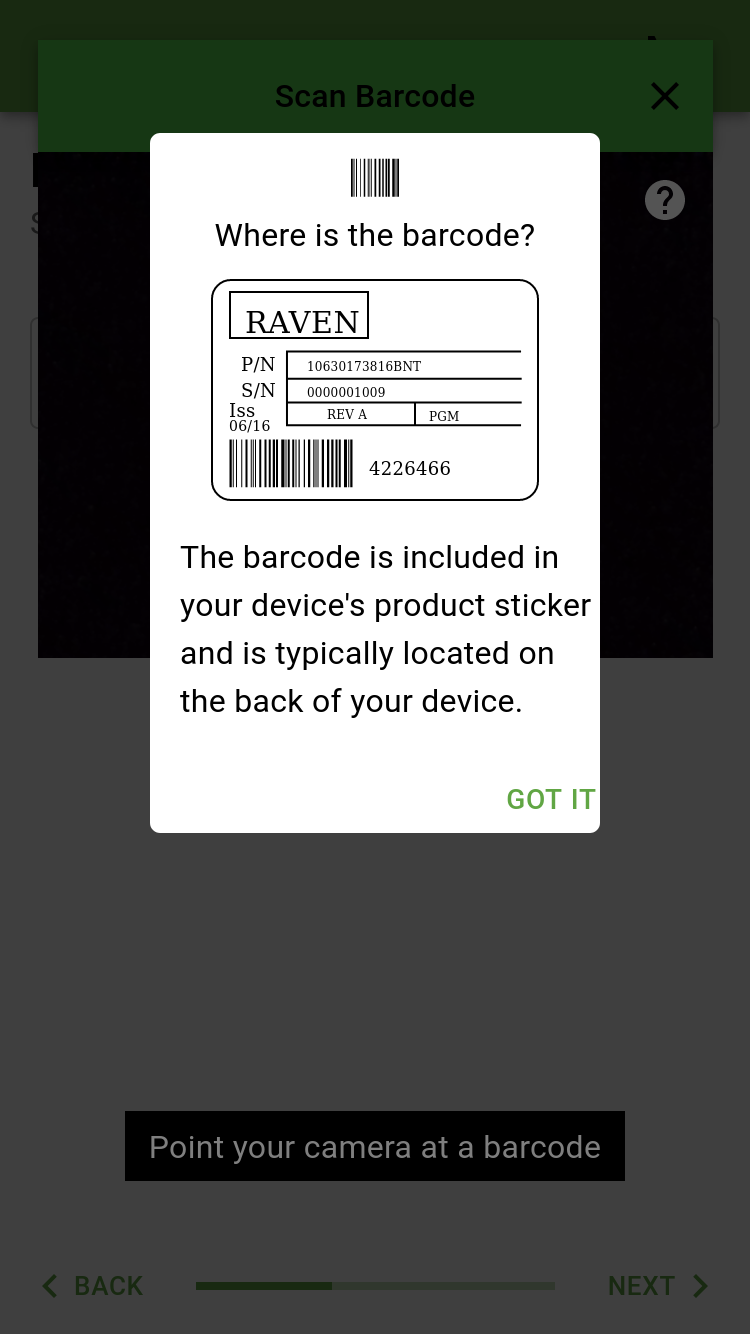
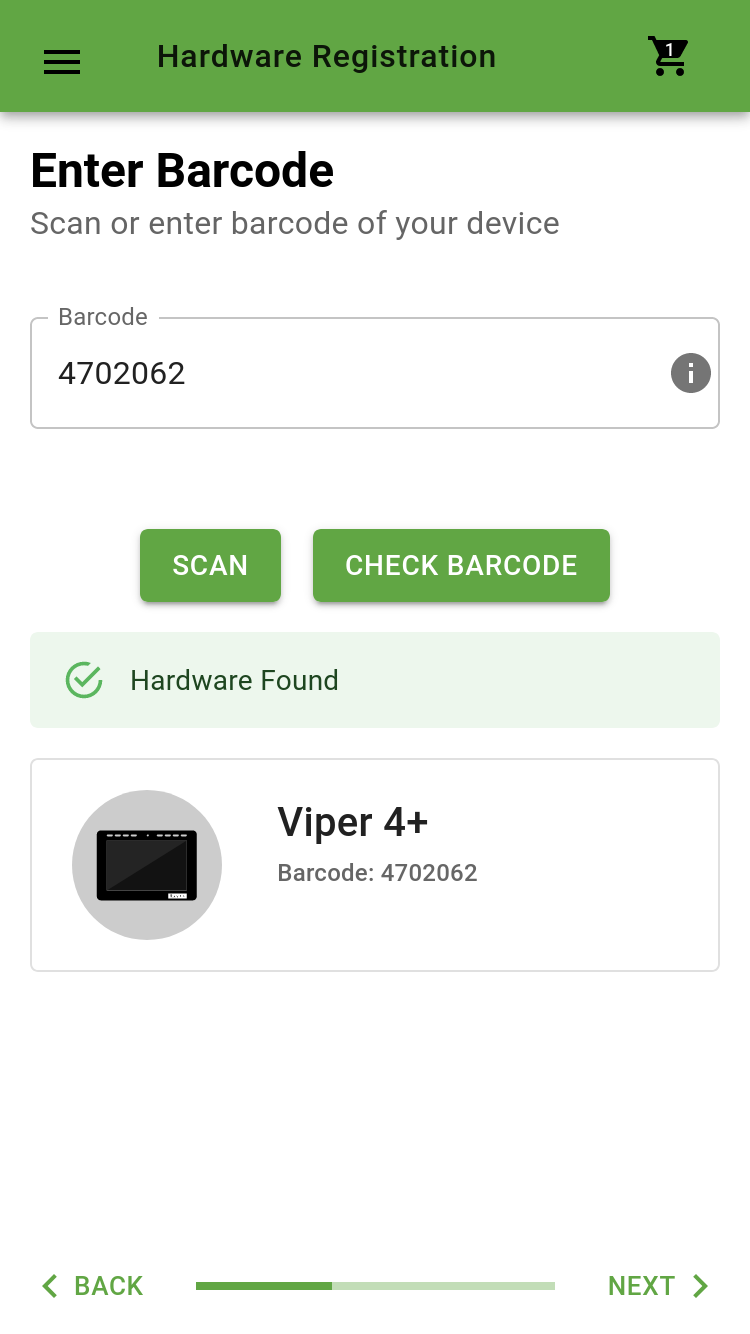
- Locate the barcode on your device. The barcode is included in your device's product sticker and is typically located on the back of your device.
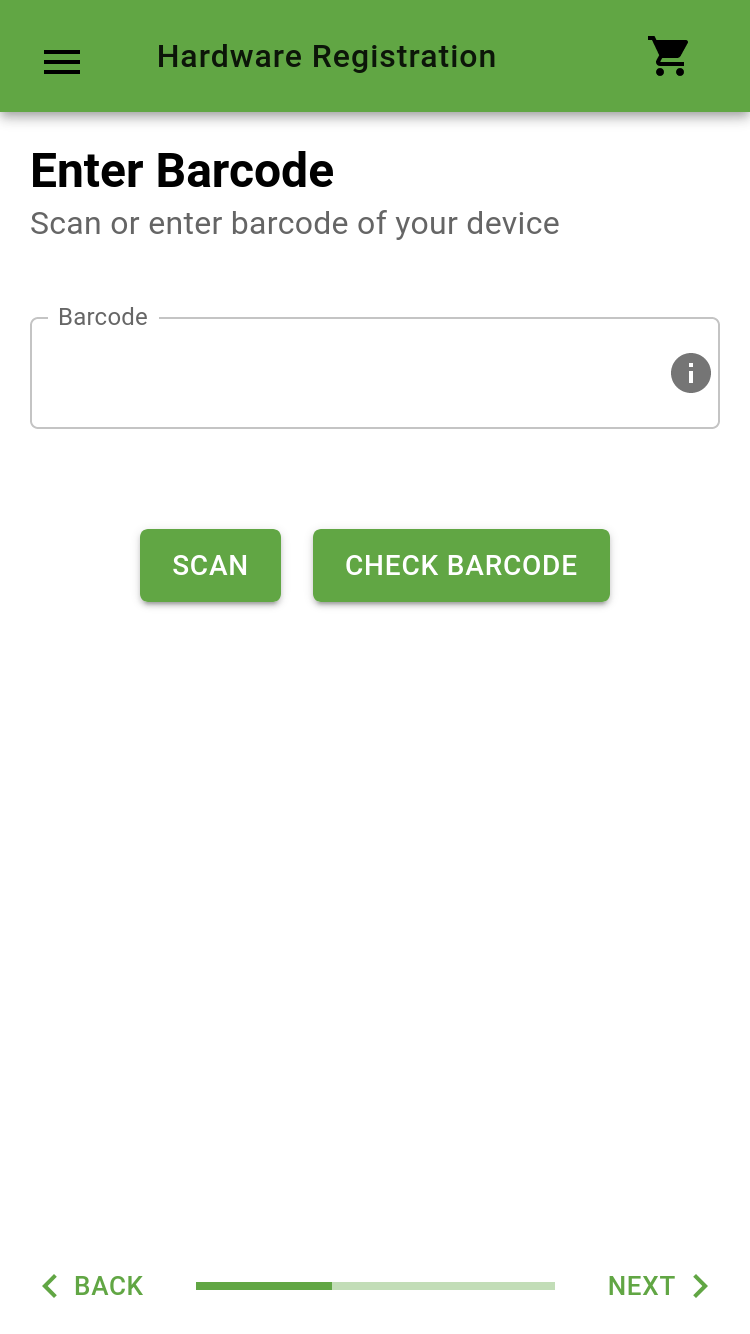
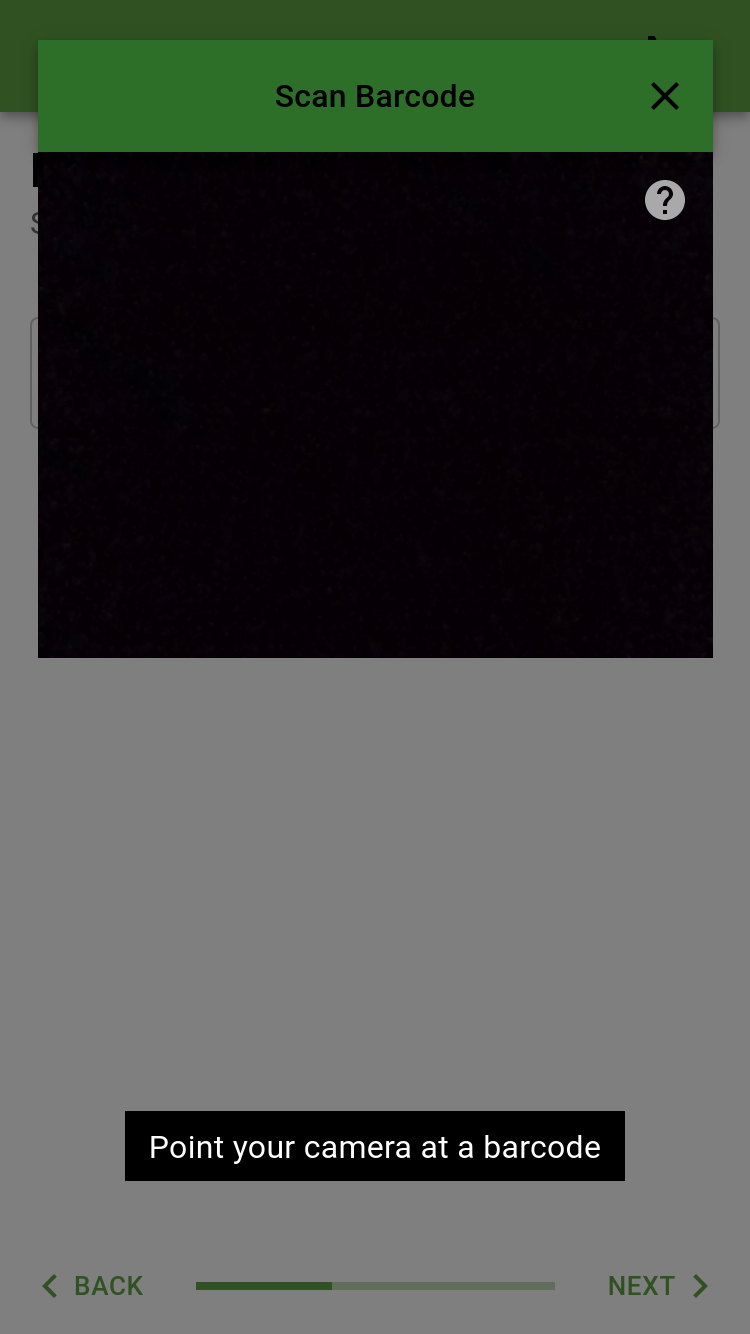
- Enter the barcode. There are two different methods to enter the barcode.
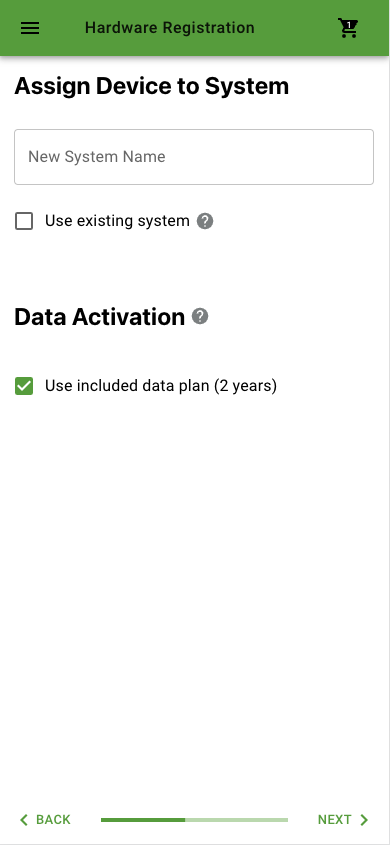
- Enter in a New System Name. The system name is set by the customer preference and can be changed later.
- If a Field Hub or RS1™ of an existing system is being replaced select the Use existing system box. A drop down box will open allowing the desired system to be selected.
- If the device includes a data plan it will be shown under Data Activation. If the customer declines the data plan remove the check mark from this box.
Note: By removing the check mark the customer declines any data that is included with the hardware. This option is only available for OEM activated devices located in the United States.
- Press the Next button.
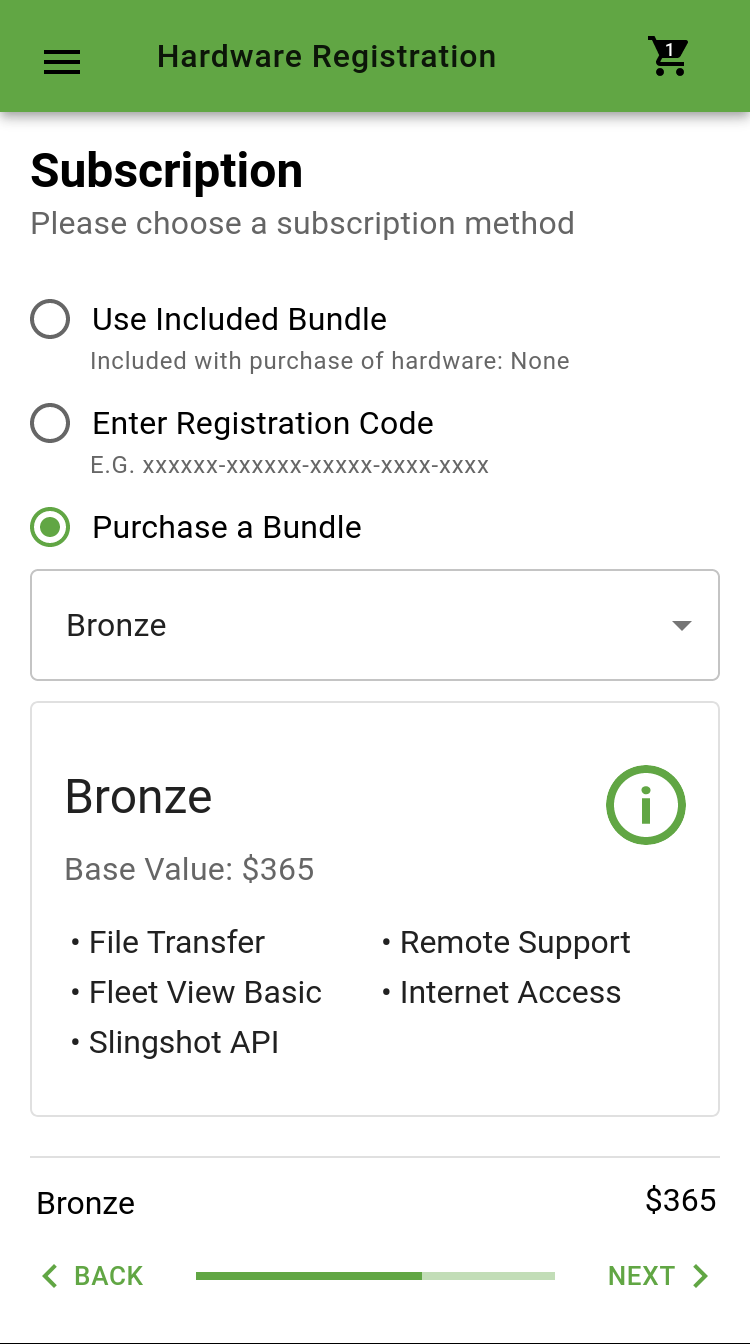
- Choose the Subscription method.
- Use Included Bundle - If the hardware comes with a subscription this will be preselected and includes the details.
- Enter Registration Code - If a registration code is being used it can be entered at this time.
- Purchase a Bundle - Select this option to add a subscription.
Note: If a subscription is already included with the hardware, that credit will be included in the bundle price.
- Press the Next button.
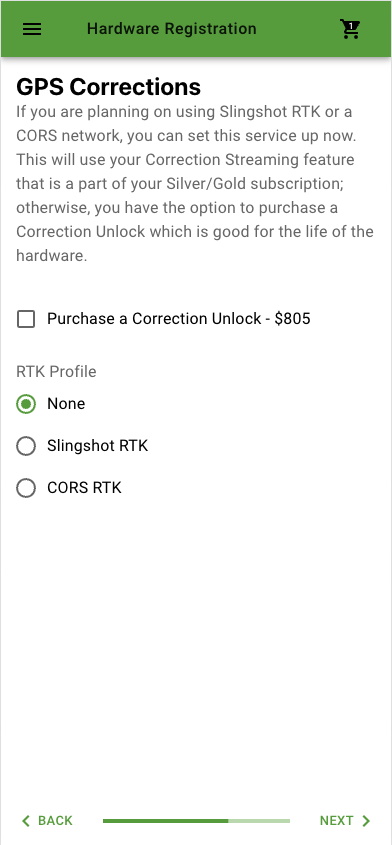
- Set up the RTK
 Real-time Kinematic correction profile.
Note: Slingshot® RTK, CORS RTK, or No RTK corrections can be selected.
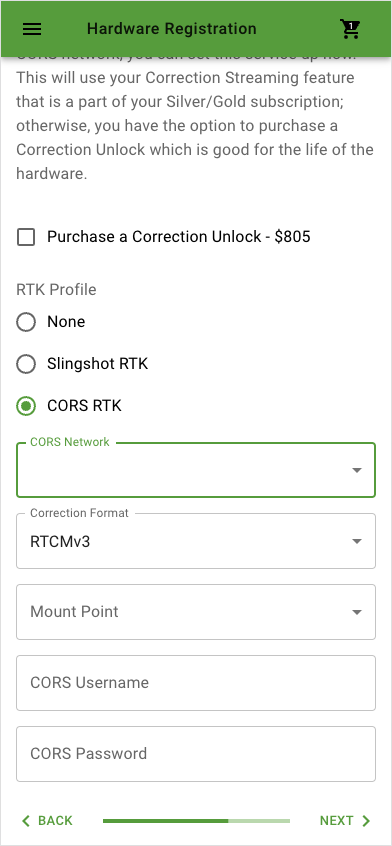
 Slingshot® RTK or CORS RTK Correction Profile
- Select either the Slingshot® RTK or CORS network profile. This will use the Correction Streaming feature that is part of the Silver/Gold subscription. Otherwise, there is the option to purchase a Correction Unlock which is good for the life of the hardware.
- Complete the following information and press the Next button.
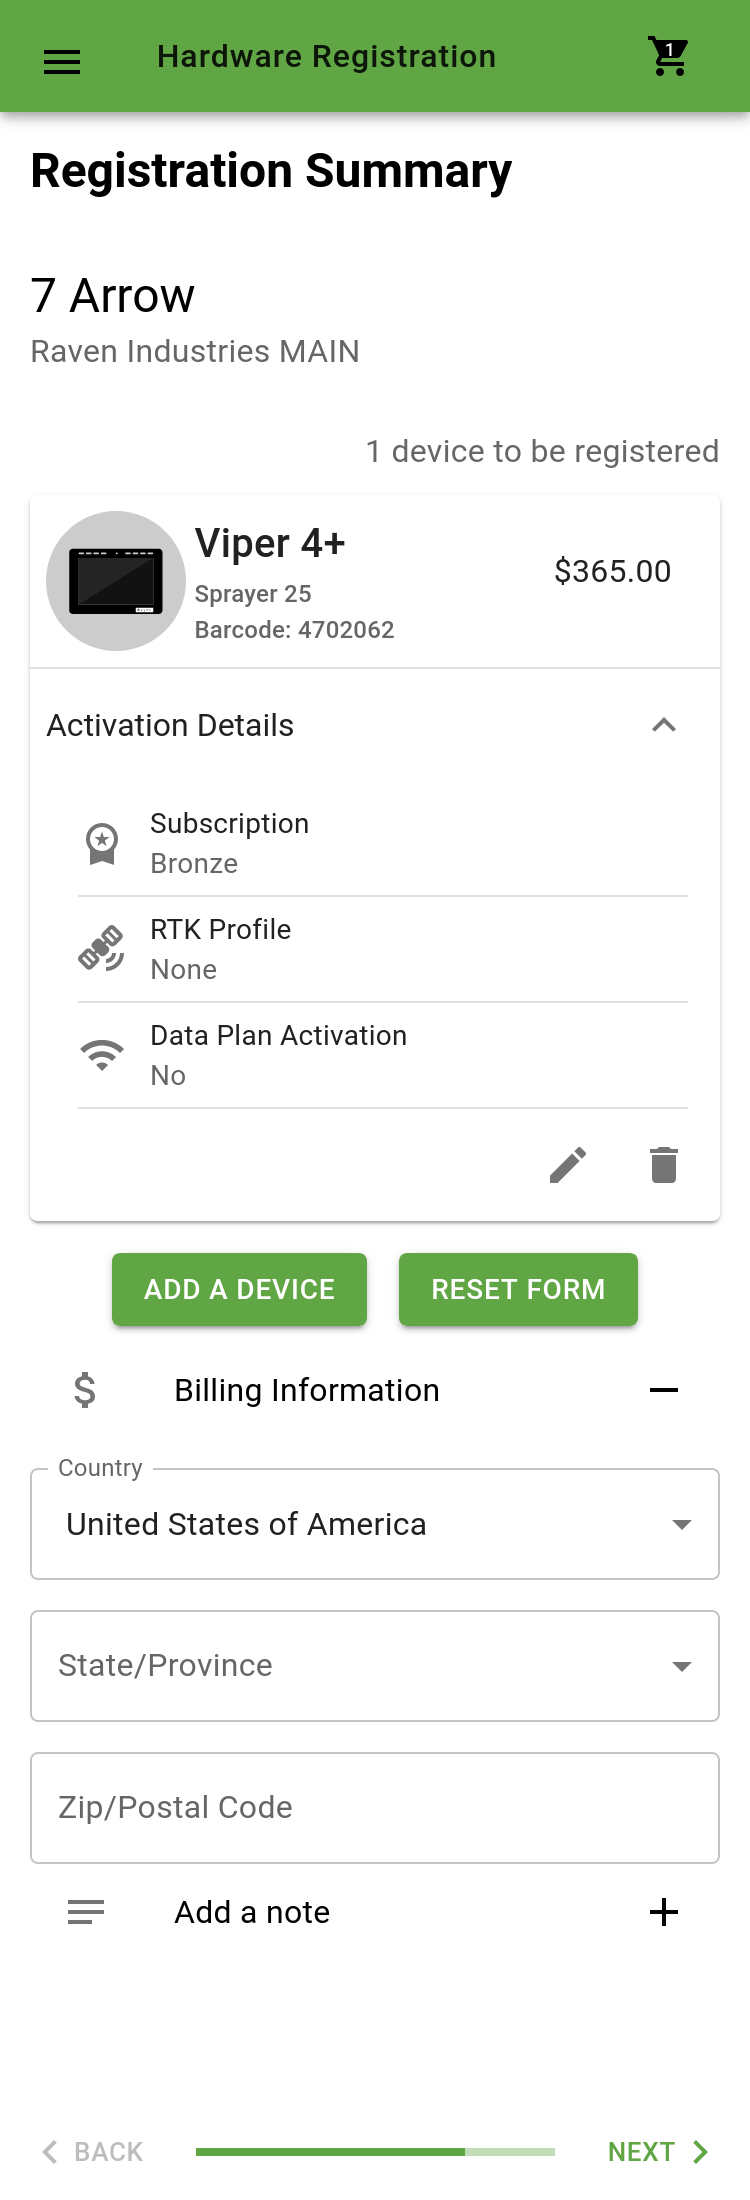
- Confirm that the hardware being registered is correct.
- Select the Activation Details drop down.
- Confirm that the Activation Details are correct.
Note: If the Activation Details need to be edited press the pencil icon and make the necessary changes.
- A second device can be added by pressing the Add a Device button.
- The form can be reset by pressing the Reset Form button.
- Complete the Billing Information if a payment is necessary.
- Press the Next Button.
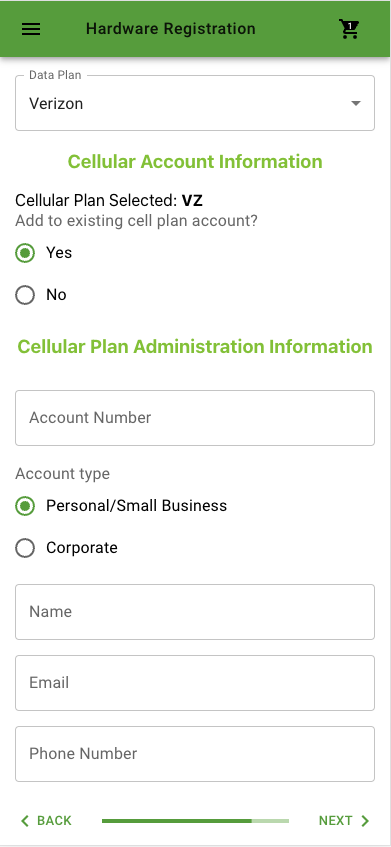
- Complete the following information if registering hardware without an included data plan and data activation is necessary.
- Choose the cellular provider.
- Choose to add to existing cell plan account. If Yes is selected and the existing Account Number.
- If necessary choose the Account Type.
- Fill out the contact information.
- Press the Next button.
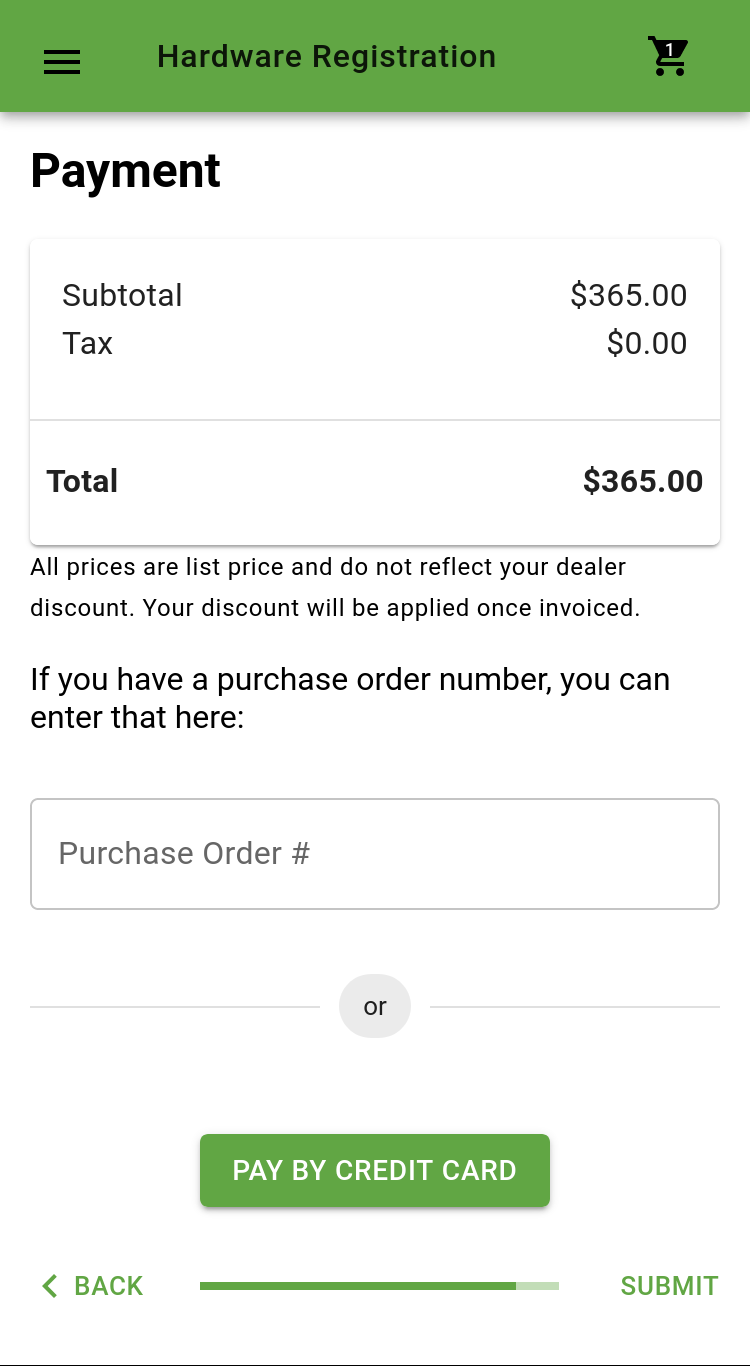
- Review the payment summary.
- If no payment is required press the Submit button.
- If payment is required enter a Purchase Order Number (Dealer Only) or Pay By Credit Card.
- If necessary enter the credit card information.
- Press the Submit button.
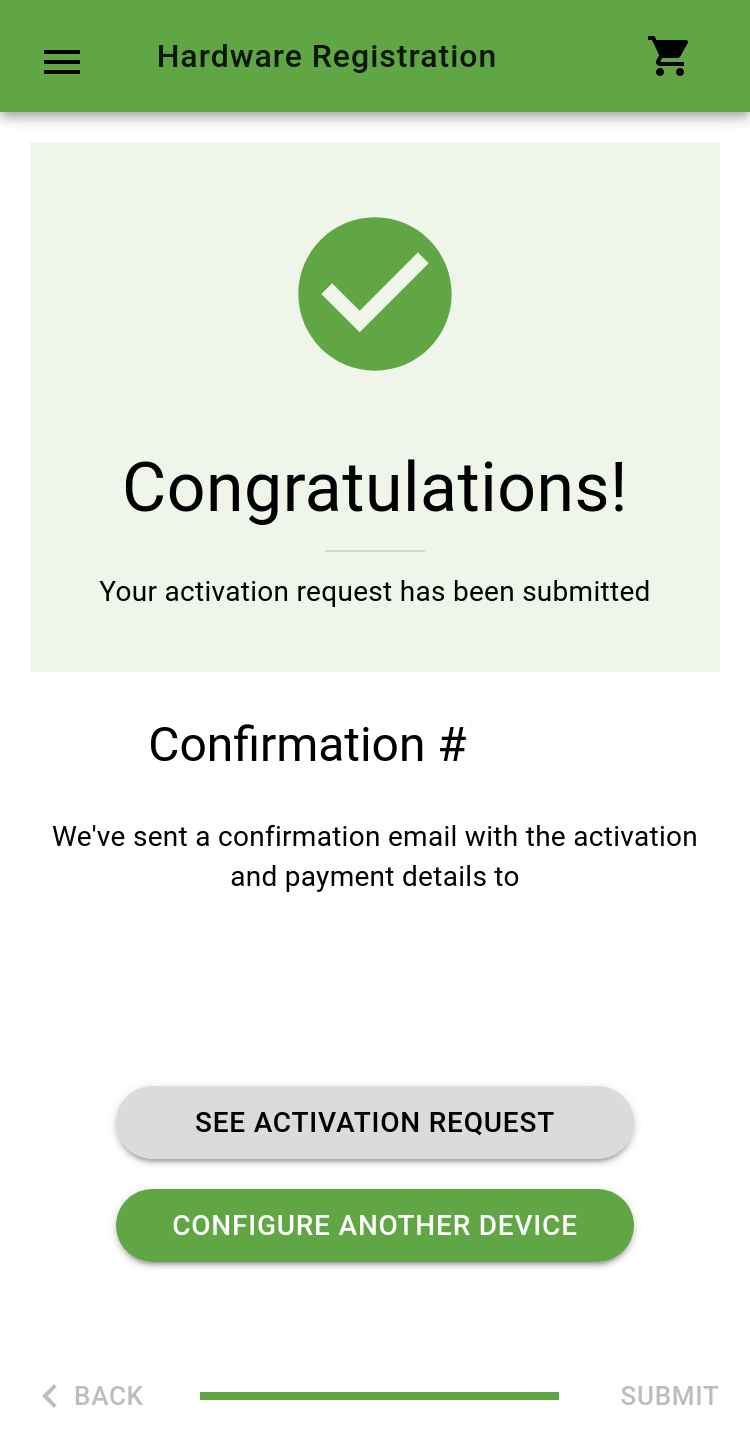
- A confirmation number will be shown and a confirmation email will be sent with activation and payment details.
Last Revised: Sep 2024
