Install Viper® 4 Vehicle Telematics
To access machine performance information, a Viper® 4+ must be connected to the machine CANbus.
Universal Installation
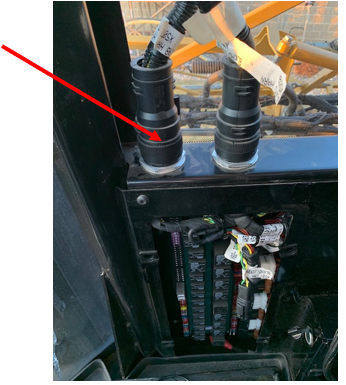
- Locate the vehicle CAN tee cable (P/N 115-0172-602) and connect it to the diagnostic port located on the machine.
Note: If another device is already installed in the diagnostic port, relocate the previously installed device to the spare diagnostic port on the vehicle CAN tee cable.
Tee Connection at Diagnostic Port
- Connect the opposite end of the vehicle CAN tee cable to Port 5 at the back side of the Viper® 4/4+.
Note: If another cable is already connected to Port 5, relocate the previously installed cable to the mating connector on the vehicle CAN tee cable.
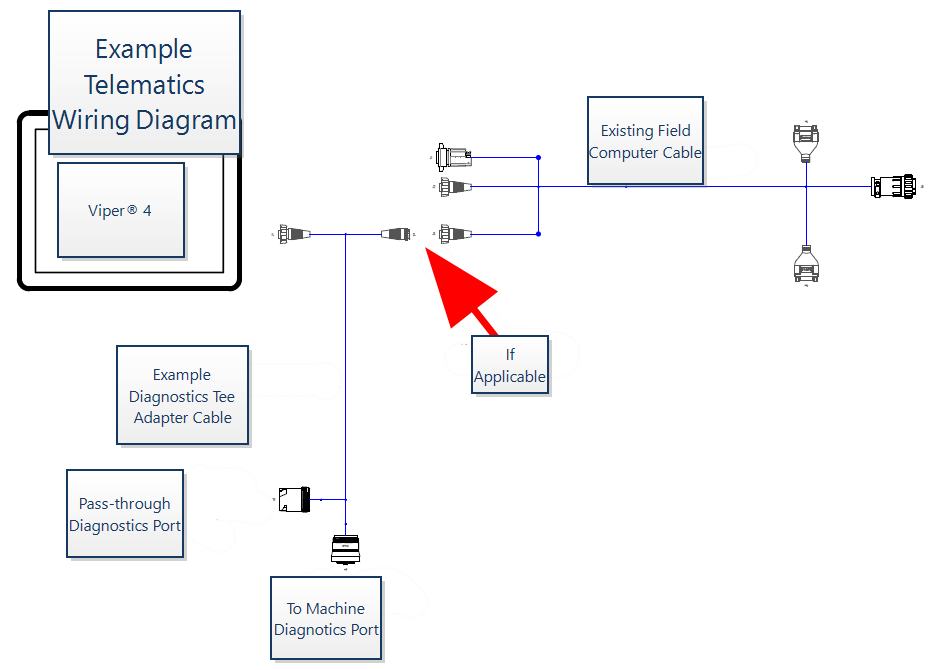
Universal Installation Wiring Diagram
AGCO RoGator C Installation
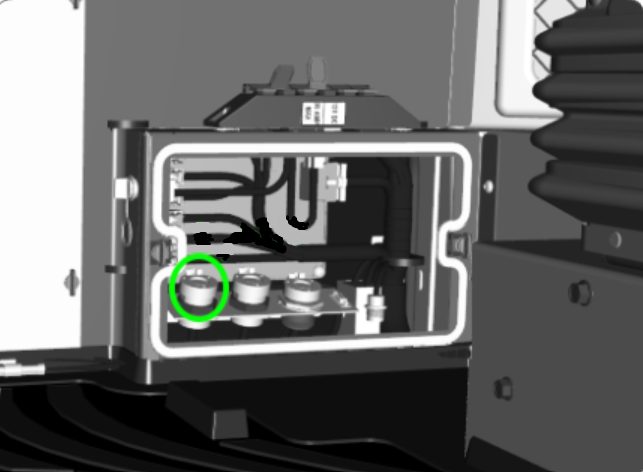
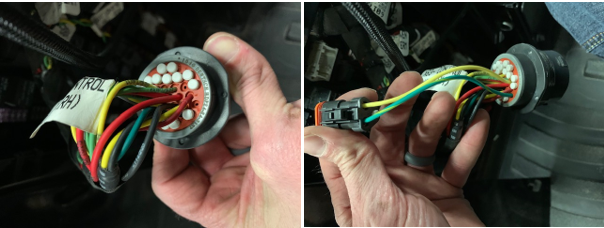
- Disconnect the X-63 connector plugged into the front bulkhead connector at the electrical panel at the right side of the cab.
X-59 Bulkhead Connector (Located Near Front of Cab)
- Remove the retaining nut from the bulkhead connector and pull the connector out of the electrical panel.
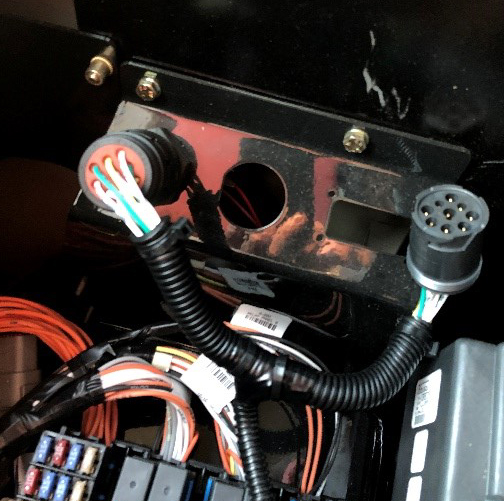
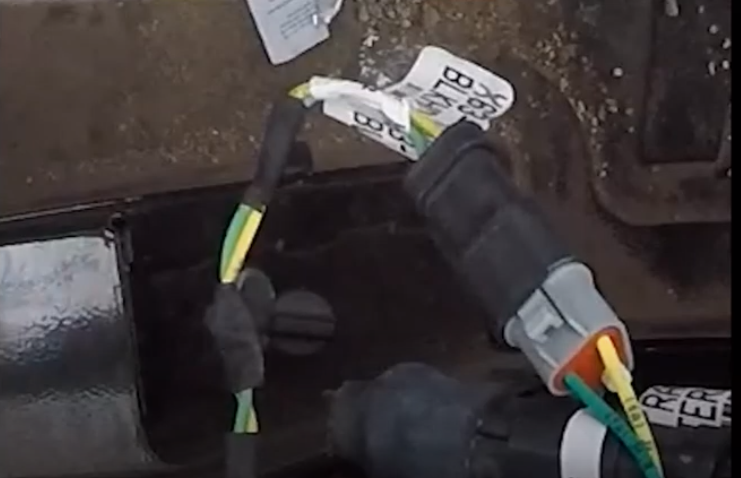
- Remove the dust plug from cavity #19 and from cavity #20 of the connector.
- Locate the Raven vehicle CAN cable (P/N 115-2001-074). Insert the yellow wire into cavity #19, and insert the green wire into cavity #20.
Raven Vehicle CAN Cable Installed in Bulkhead
- Identify the X-59 J1939 connector inside the electrical panel and remove the dust plug.
X-59 J1939 Connector
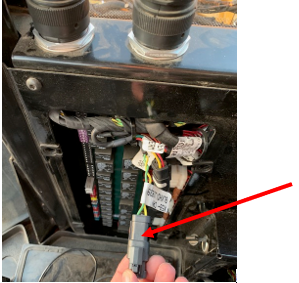
- Connect the X-59 connector to the Raven vehicle CAN cable.
X-59 Connected to Raven Vehicle CAN Cable
- Reinstall the bulkhead connector and reconnect the X-63 connector.
Last Revised: Sep 2024