Use Switchbox
The switchbox widget allows the user to enable or disable sections or groups of sections while in the CRX+ Run screen.
See Add Widgets to place the switchbox widget on the Run screen.
Configure Switchbox
To configure the switchbox from the widget:
- Select and hold the switchbox widget. The widget settings window will open.
- Select Settings. The Switchbox Settings screen will open.
- Select the desired implements to use with the switchbox(es).
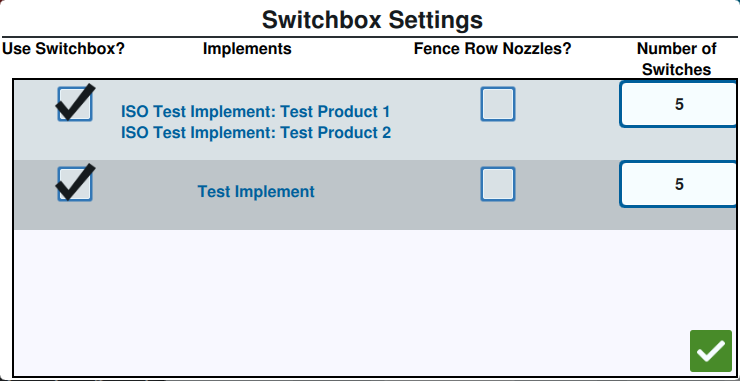
- Enter the number of switches. This number can be no greater than the total number of sections. If the number of switches is less than the number of sections, the sections are assigned to the switches proportionally. Any remaining switches are assigned from the center out.
- If desired, select the Fence Row Nozzles checkbox to map the outside sections to the outside switches. The remaining sections will be reassigned proportionally to the remaining switches.
Operate Switchbox
- Turn the Master Switch on.
- Select the desired switch to turn it on or off. Press override (left-most button) to turn on or off all switches that are not already manually turned on. If a switch button is blue, the switch is being automatically controlled by the system. If a switch button is red, the switch is off. If a switch button is green, the switch is on.
Note: If switchboxes are present for multiple products, the boxes will stack in the order the corresponding products appear in when configuring a job.
Last Revised: Mar 2025