Machine Telematics Install
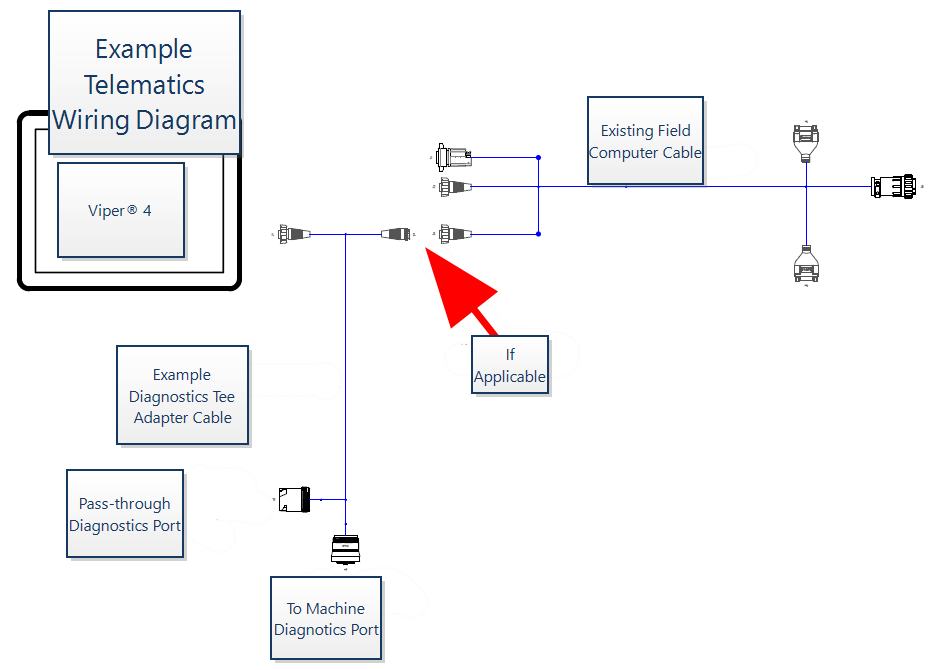
To access machine performance information on the Raven field computer, the Viper® 4 or Viper® 4+ field computer must be connected to the machine ISOBUS using one of the available diagnostic tee adapter cables.
Note: Review the Telematics Compatibility Matrix for information regarding diagnostic tee adapter cables for compatible equipment.
General Installation
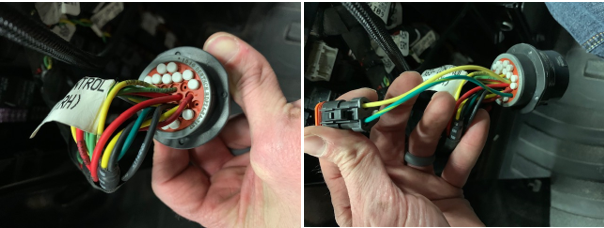
- Locate the vehicle diagnostic port and connect the large, 9-pin connector on the diagnostic tee adapter cable.
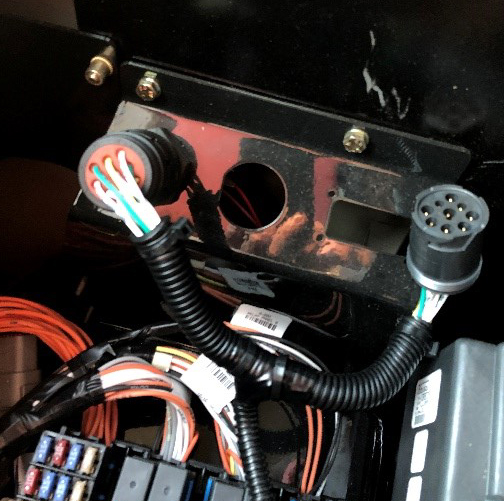
Note: The diagnostic tee adapter cable provides a pass-through or spare diagnostic connector.
If a device is already connected to the diagnostic port, disconnect it from the vehicle port and reconnect it to the pass-through connector on the diagnostic tee adapter cable.
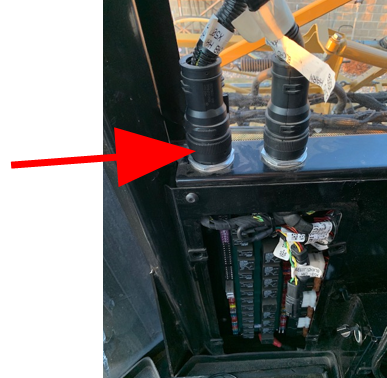
- Route the 7-pin connectors on diagnostic tee adapter cable to Port 5 on the back of the Viper® 4 or Viper® 4+ field computer in the machine cab.
- If another cable is already connected to Port 5 on the field computer, relocate the cable to the mating connector on the diagnostics tee adapter cable.
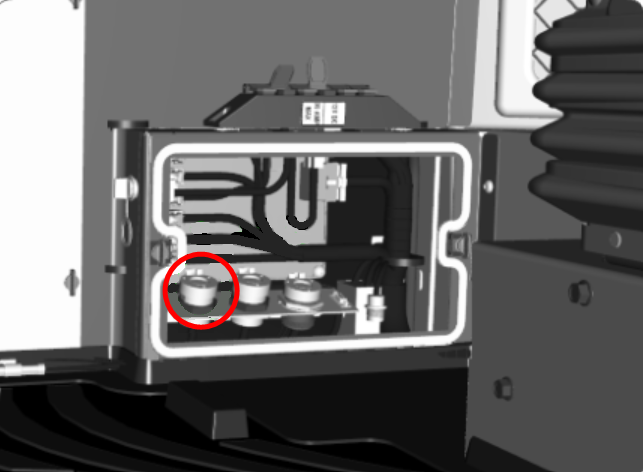
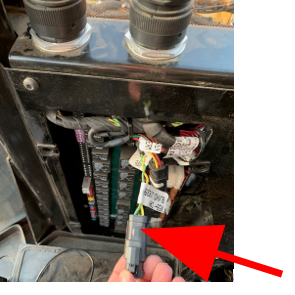
- Locate the electrical panel on the right side of the cab.
- Disconnect the X-63 connector plugged into the front bulkhead receptacle.
- Remove the retaining nut from the bulkhead connector and pull the connector out of the electrical panel.
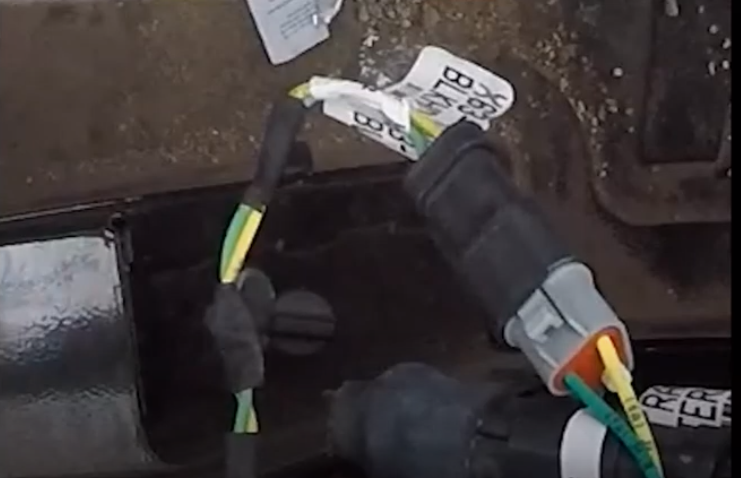
- Remove the dust plug from cavity #19 and from cavity #20 of the connector.
- Locate the Raven vehicle CAN cable (P/N 115-2001-074). Insert the yellow wire into cavity #19, and insert the green wire into cavity #20.
- Identify the X-59 J1939 connector inside the electrical panel and remove the dust plug.
- Connect the X-59 connector to the Raven vehicle CAN cable.
- Reinstall the bulkhead connector and reconnect the X-63 connector.
Last Revised: Sep 2024